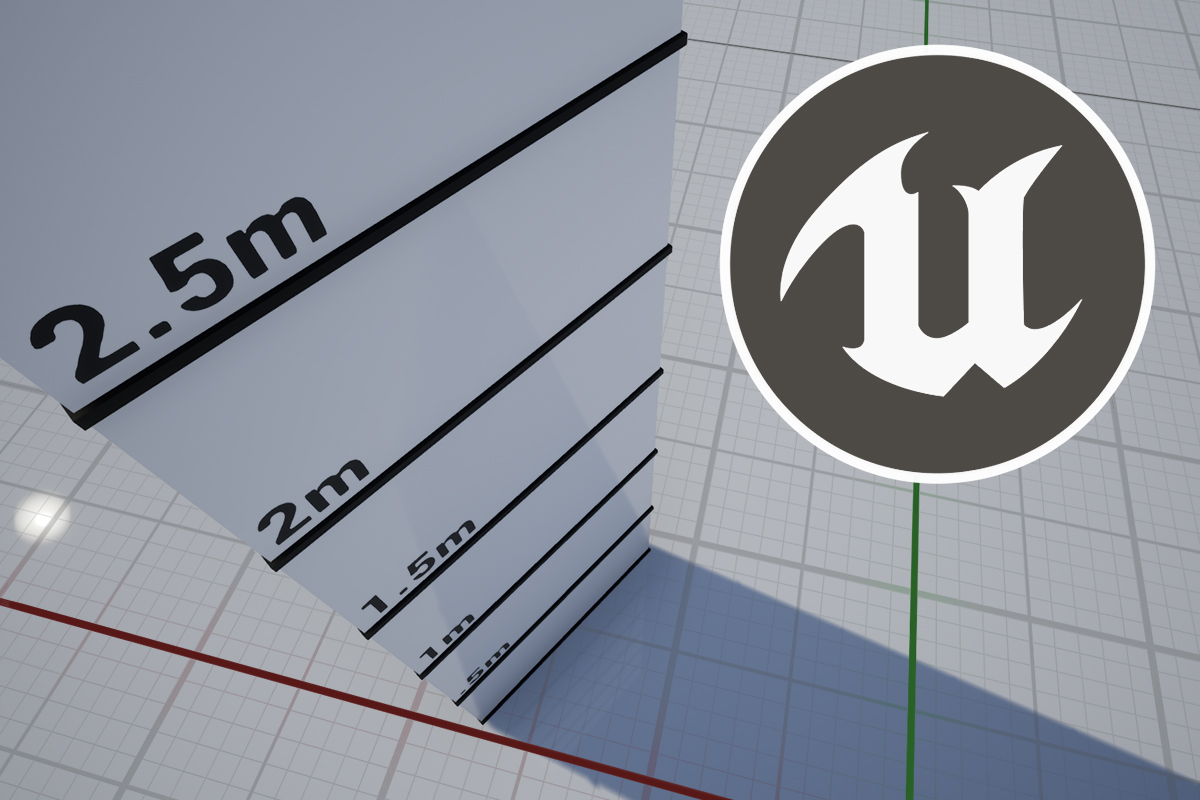
If you want to develop games with the Unreal Engine, an in-depth understanding of its coordinate system is essential. This guide will explore the ins and outs of how such a system determines the positions of objects in 3D space, why it’s so important, and how it differs from other 3D packages you may be used to working with.
All iterations of the Unreal Engine use a rare left-handed, Z-Up coordinate system. This is inconveniently divergent from most other popular 3D software packages and commonly used game engines, but different doesn’t necessarily mean wrong.
World Coordinate System Quick Guide
Here is a table that demonstrates how the Unreal Engine coordinate system compares to other game engines and 3D software packages. For those already familiar with terms like up axis and left/right handed, this may tell you all you need to know to figure the rest out for yourselves.
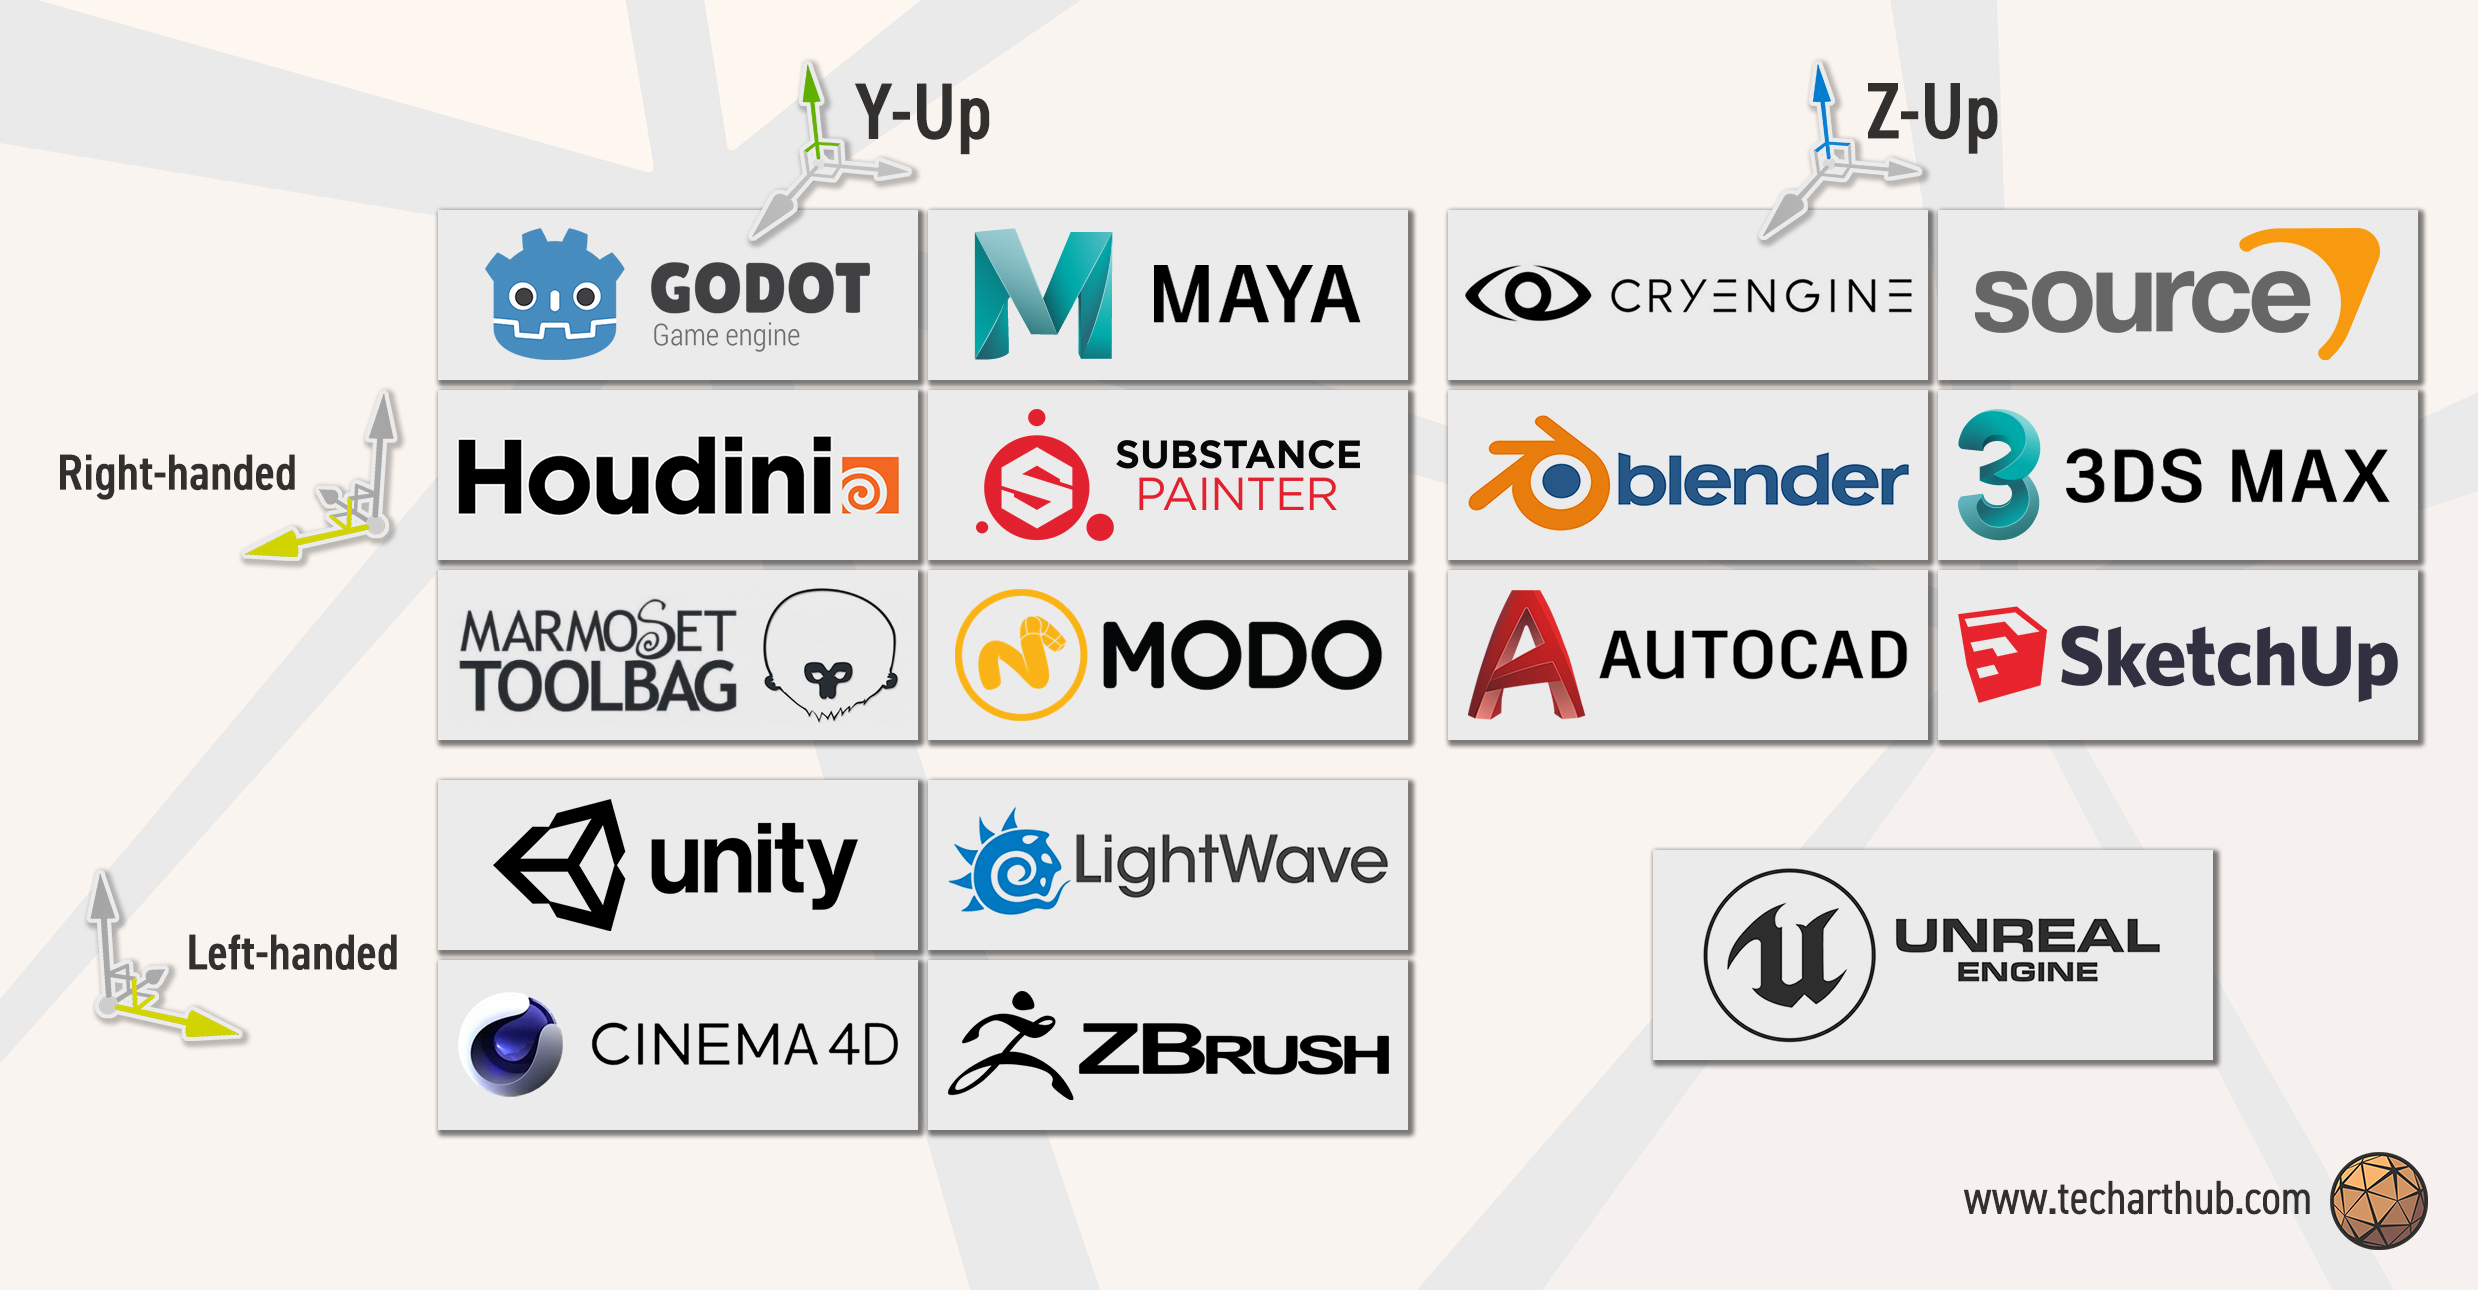
For those who’d like a little more comprehensive breakdown of what all of this means, and why you need to know, let’s take a closer look.
What is a coordinate system?
The mathematical term ‘coordinate system’ describes a way of using numbers to specify the location of a point (or points) in 2D or 3D space. In a game engine it’s the coordinate system’s role to define both the location of each object and which direction it is facing. With this data you can then calculate the distance between objects, rotation, velocity, and all sorts of other useful information.
There are multiple systems for calculating and interpreting coordinates. Although Unreal Engine uses a Cartesian coordinate system, in a limited fashion the engine does support other systems as well. Converting Cartesian coordinates to polar coordinates, for example, is possible within C++, Blueprint, and the Material Editor. That said, no matter which system you’re working with, the information within this guide is still pertinent.
Finding direction
The most important thing to remember is that the virtual space inside your Unreal project is determined by three axes: X, Y, and Z. They represent the forward/backward, left/right, and up/down directions respectively.
Each object in your game world has a value for each axis, the three of which combined tell Unreal where to place it in the scene. Should you change your object’s Z value, for example, your object will move up or down along that axis. The direction of the motion will depend on whether you add or subtract from the axis value. This is what we would call ‘moving in the Z axis’.
The point at which all three axes intersect is called the origin. On one side of the origin an axis value will be a positive value, and on the other it will be negative. For example, 8 is the same distance from the origin as -8, just on the opposite side. A value of zero sits right on the origin of that axis.
The positive direction of each axis is also commonly called the forward vector, right vector, and up vector.
What’s up? The Z axis vs. the Y axis
This is where we hit our first key point of difference between Unreal and some of the other popular 3D software packages and game engines on our list. Some programs, like Autodesk’s Maya and the Unity Engine, have defined the Y axis as up/down instead of the Z axis.
As you might expect, this can cause unexpected results when transferring 3D objects between programs. Changing the definition of an axis (in this instance, the up vector) will fundamentally change how that data is interpreted. Things have a tendency to go sideways on you!
Left vs. right handed systems
The second important distinction between Unreal and other commonly used engines and packages is that Unreal uses a left-handed coordinate system. What this means is that the Y axis (which defines your right vector) will be inverted when importing art from a program that uses a right-handed system.
The easiest way to visualize which is which is to use your hand. Hold it with your palm facing to your side as if you’re reaching to shake someone’s hand. Point your thumb upwards (like a thumbs-up), this is your up vector (Z+). Point your index finger forward, this (unsurprisingly) is your hand’s forward vector (X+). Finally, curl your middle finger so it points perpendicular to your palm. This is your hand’s right vector (Y+).
If you did this exercise with your left hand, then you will be aligned with Unreal’s coordinate system and your right vector will be pointing to the right. If you used your right hand instead (as Maya does, for example) it will be pointing to the left. This is the difference between left and right handed systems.
The most common issue that this inverse left/right situation causes is that art assets imported into Unreal from right-handed 3D programs will be flipped in the Y axis, as their right vector will be pointing the other way. Just something to keep in mind.
It’s worth noting that Tim Sweeney has personally apologized for this state of affairs. Whether or not you forgive him is entirely up to you.
It’s not all relative
In Unreal (and most 3D graphics programs) several coordinate systems operate in tandem to simulate the virtual 3D space that makes up your game world. In Unreal Engine these are called world space and local space. Other coordinate systems, such as screen space and UV space, are used to map the position of objects in 2D, but we’ll talk about those at another time.
World (or Universal) space
World space is the coordinate system for the scene itself. Its origin is in the center of your map, and it is to world space that the grid in the editor viewport aligns. You cannot change the direction of this coordinate system.
In world space, Z+ is always up, Y+ is always right, and X+ is always forward.

There are a few ways to visualize world space. One useful tool is to call the Draw Debug Coordinate System node in your Blueprint editor, which will draw lines from an arbitrary point in the direction of X+, Y+ and Z+.
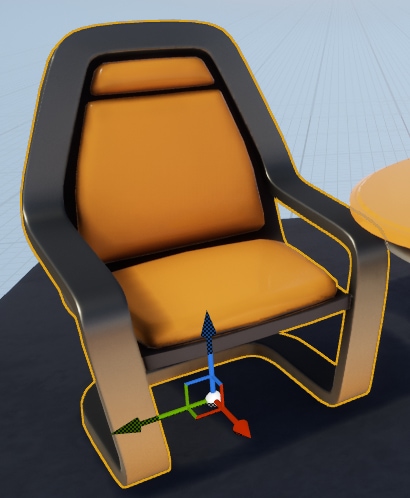
Local (or Relative) space
Local space is a coordinate system that is relative to the rotation of a specific object. It’s origin is at the pivot point of the object itself, and its axes will change depending on which direction it is facing.
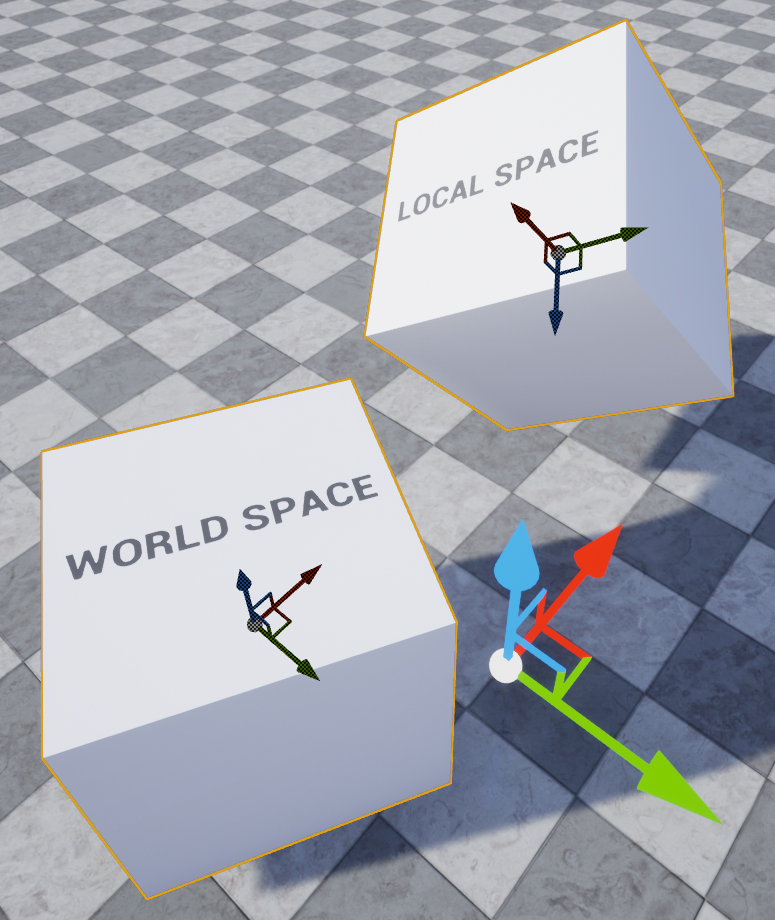
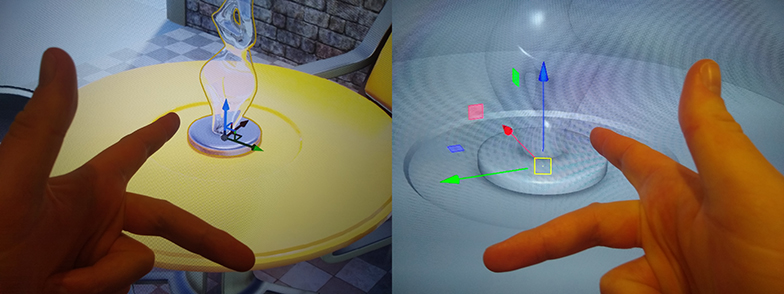
You can think of an object’s local space like its point-of-view. If your object is upside down, then its relative up axis (still positive Z for the object) would point downwards in world space, but upwards relative to the object. It’s like our hand example from earlier – if you rotate your wrist, all of the local axes (represented by your fingers) will follow.
You can switch your manipulation gizmo between coordinate systems by pressing the Cycle Transform Gizmo button at the top of the viewport, or by pressing the hotkey Ctrl+`.
One important thing to keep in mind is that the transform values in your actor’s details tab may not reflect the active coordinate system of your gizmo. If your actor is a child of another actor, those values will be in local space and relative to its parent. Likewise, if it is not a child the values will be in world space regardless of your gizmo’s settings.
Final thoughts
Thank you for reading my guide, I hope it helps you visualize the differences between the coordinate systems that you encounter in the wild, and eases the process of converting between them to make sure your art imports in and out of Unreal as you expect.