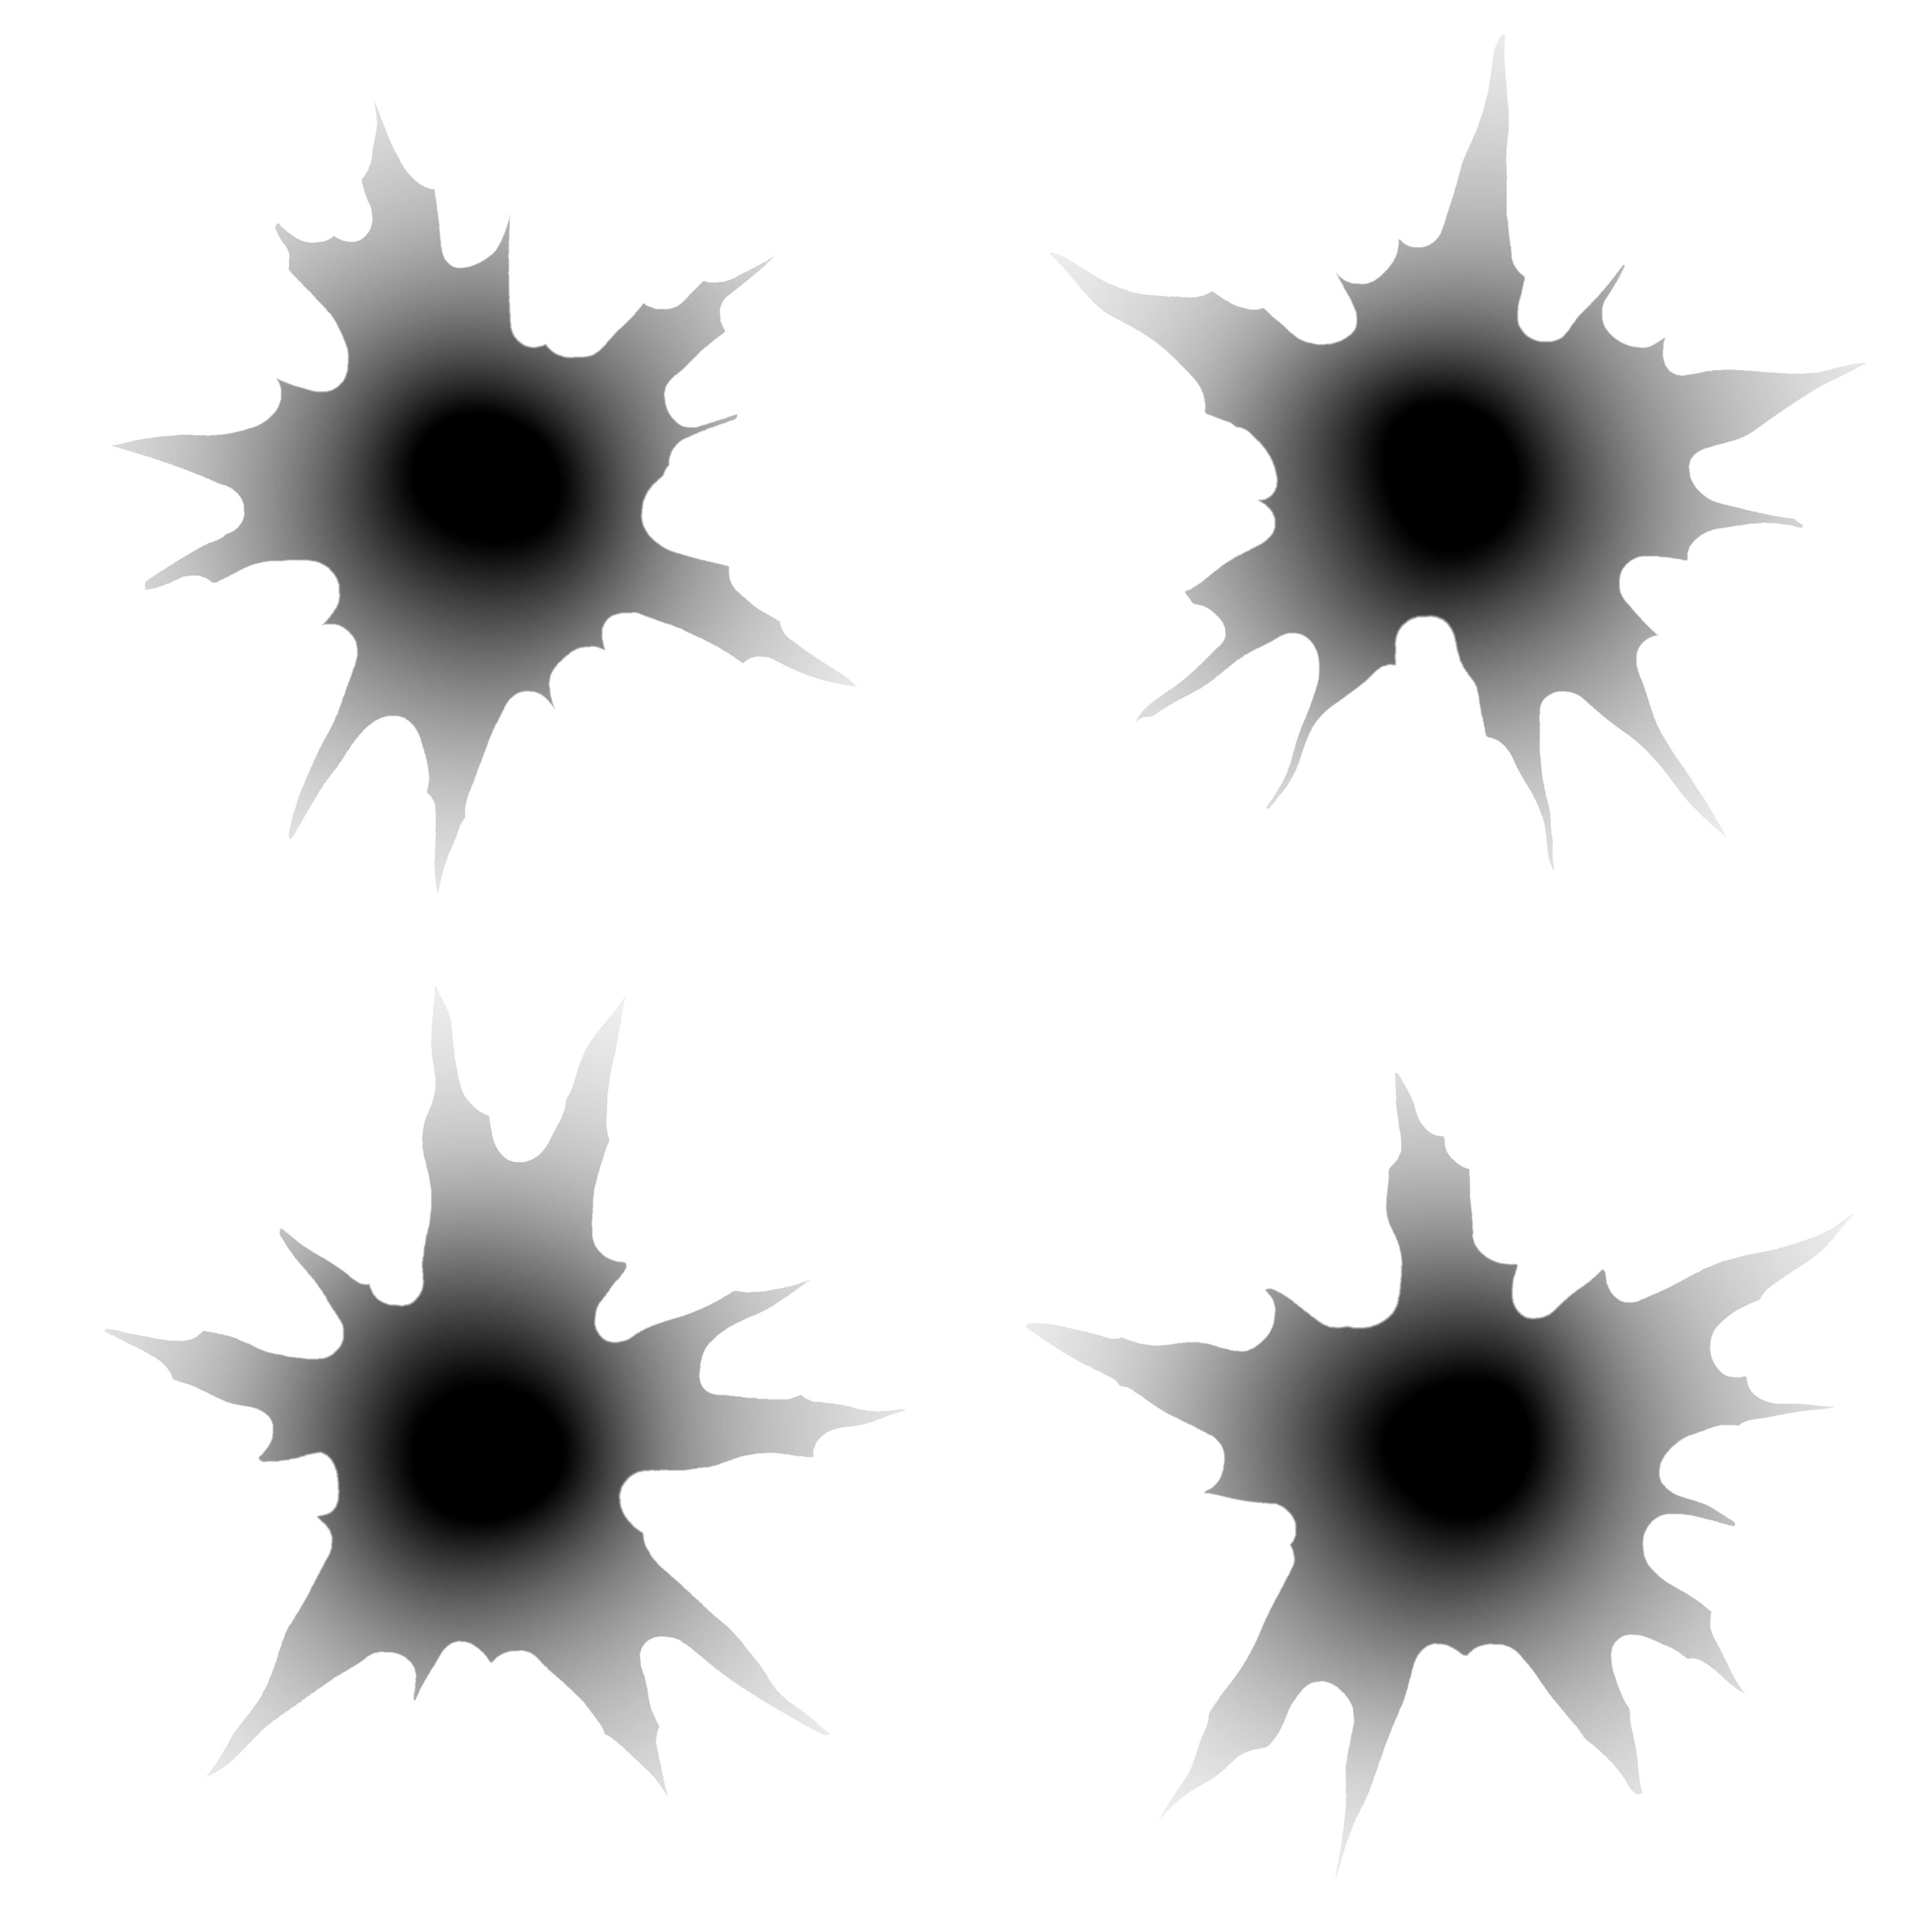
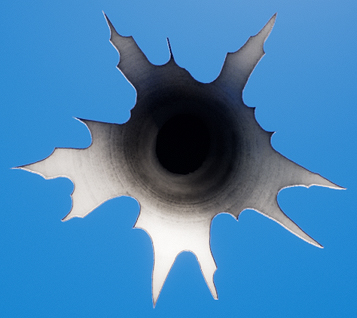
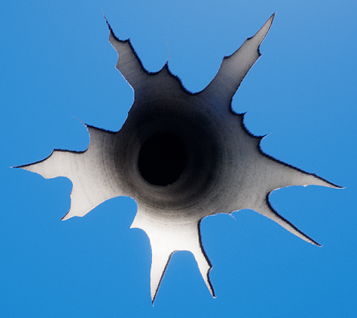
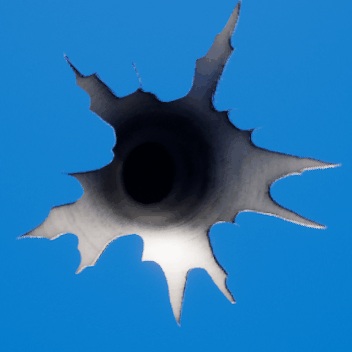
If you’re looking for the shooting in your game to feel more powerful you be in need of some viscerally authentic impact VFX. Whether you’re aiming for realism or abstraction, selling the power of your game’s weaponry will require it to have some kind of effect on the environment, and one easy way to accomplish this is through the use of impact decals.
In this Unreal Engine tutorial, we’re going to dive into the creation process of a Decal Master Material that can be used to create a range of interesting impact shapes. We’ll explore different techniques to get the most out of your textures and finish with a method of applying them to objects in the environment.
Download the Unreal project
The Unreal Project I used in this tutorial can be downloaded via the Impact Decals GitHub repository. Feel free to adapt it for your own projects in whichever way you choose, although if you do find this tutorial particularly helpful, I’d love to hear about it!
This is the second installment of my series on the creation of a bullet impact decal from scratch, from Substance Designer to Unreal. In the previous tutorial we had a look at a range of reference images, broke the shape down, and created a series of textures that we’ll be picking up again to use in our Material.
If you’re at all interested in parametric texture creation, I highly recommend you start there. If you’re just here for the Unreal side of this process, you can download the results of the tutorial from the links below.
Project Setup
Before we dive into the Material Editor we’re going to need to start a new Unreal Project and create the assets we’ll need.
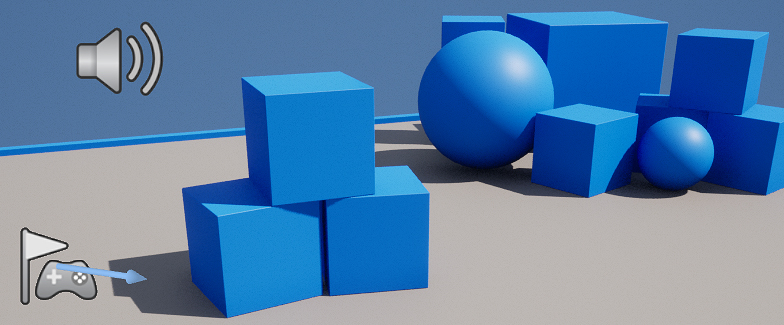
For the purposes of this tutorial, I’m going to assume we’re making a first-person shooter (mostly because that’s what I’m doing in a few other projects) so I’m going to open with the default First-Person template. It doesn’t really matter what template (if any) you choose, as this is just about making it easy to test the effect with some relevant context.
Once your project is up and running you’ll want to import the texture assets from my previous tutorial and create a new Material asset. I’ve called mine M_ImpactDecal.

Don’t forget to set your mask texture’s Compression Setting to Masks (or disable sRGB) or it won’t present the PBR data correctly.
Finally, and this is entirely optional, I created a little test level with a range of different shapes to which we’ll be applying our impact decal. Game environments can be pretty chaotic, and to properly test our impact effect we’ll want to experiment on a range of different surfaces.
Creating a Decal Master Material
Let’s open up our new Master Material and configure some initial settings. Under the Material Domain dropdown don’t forget to select the Deferred Decal option and set the Material’s Blend Mode to Translucent.
For this Material I’d like to take a little more time to set up a range of useful parameters because our goal here is to make the Material versatile enough to support a whole range of different impact effects. It’s up to you which of these you’d like to include, but I think they’re all worthwhile. Even though the previous tutorial focused entirely on metal impacts, this Master Material should support practically any type of surface.
For those who’re looking for something specific or want to jump straight in, here is the Material graph in full.
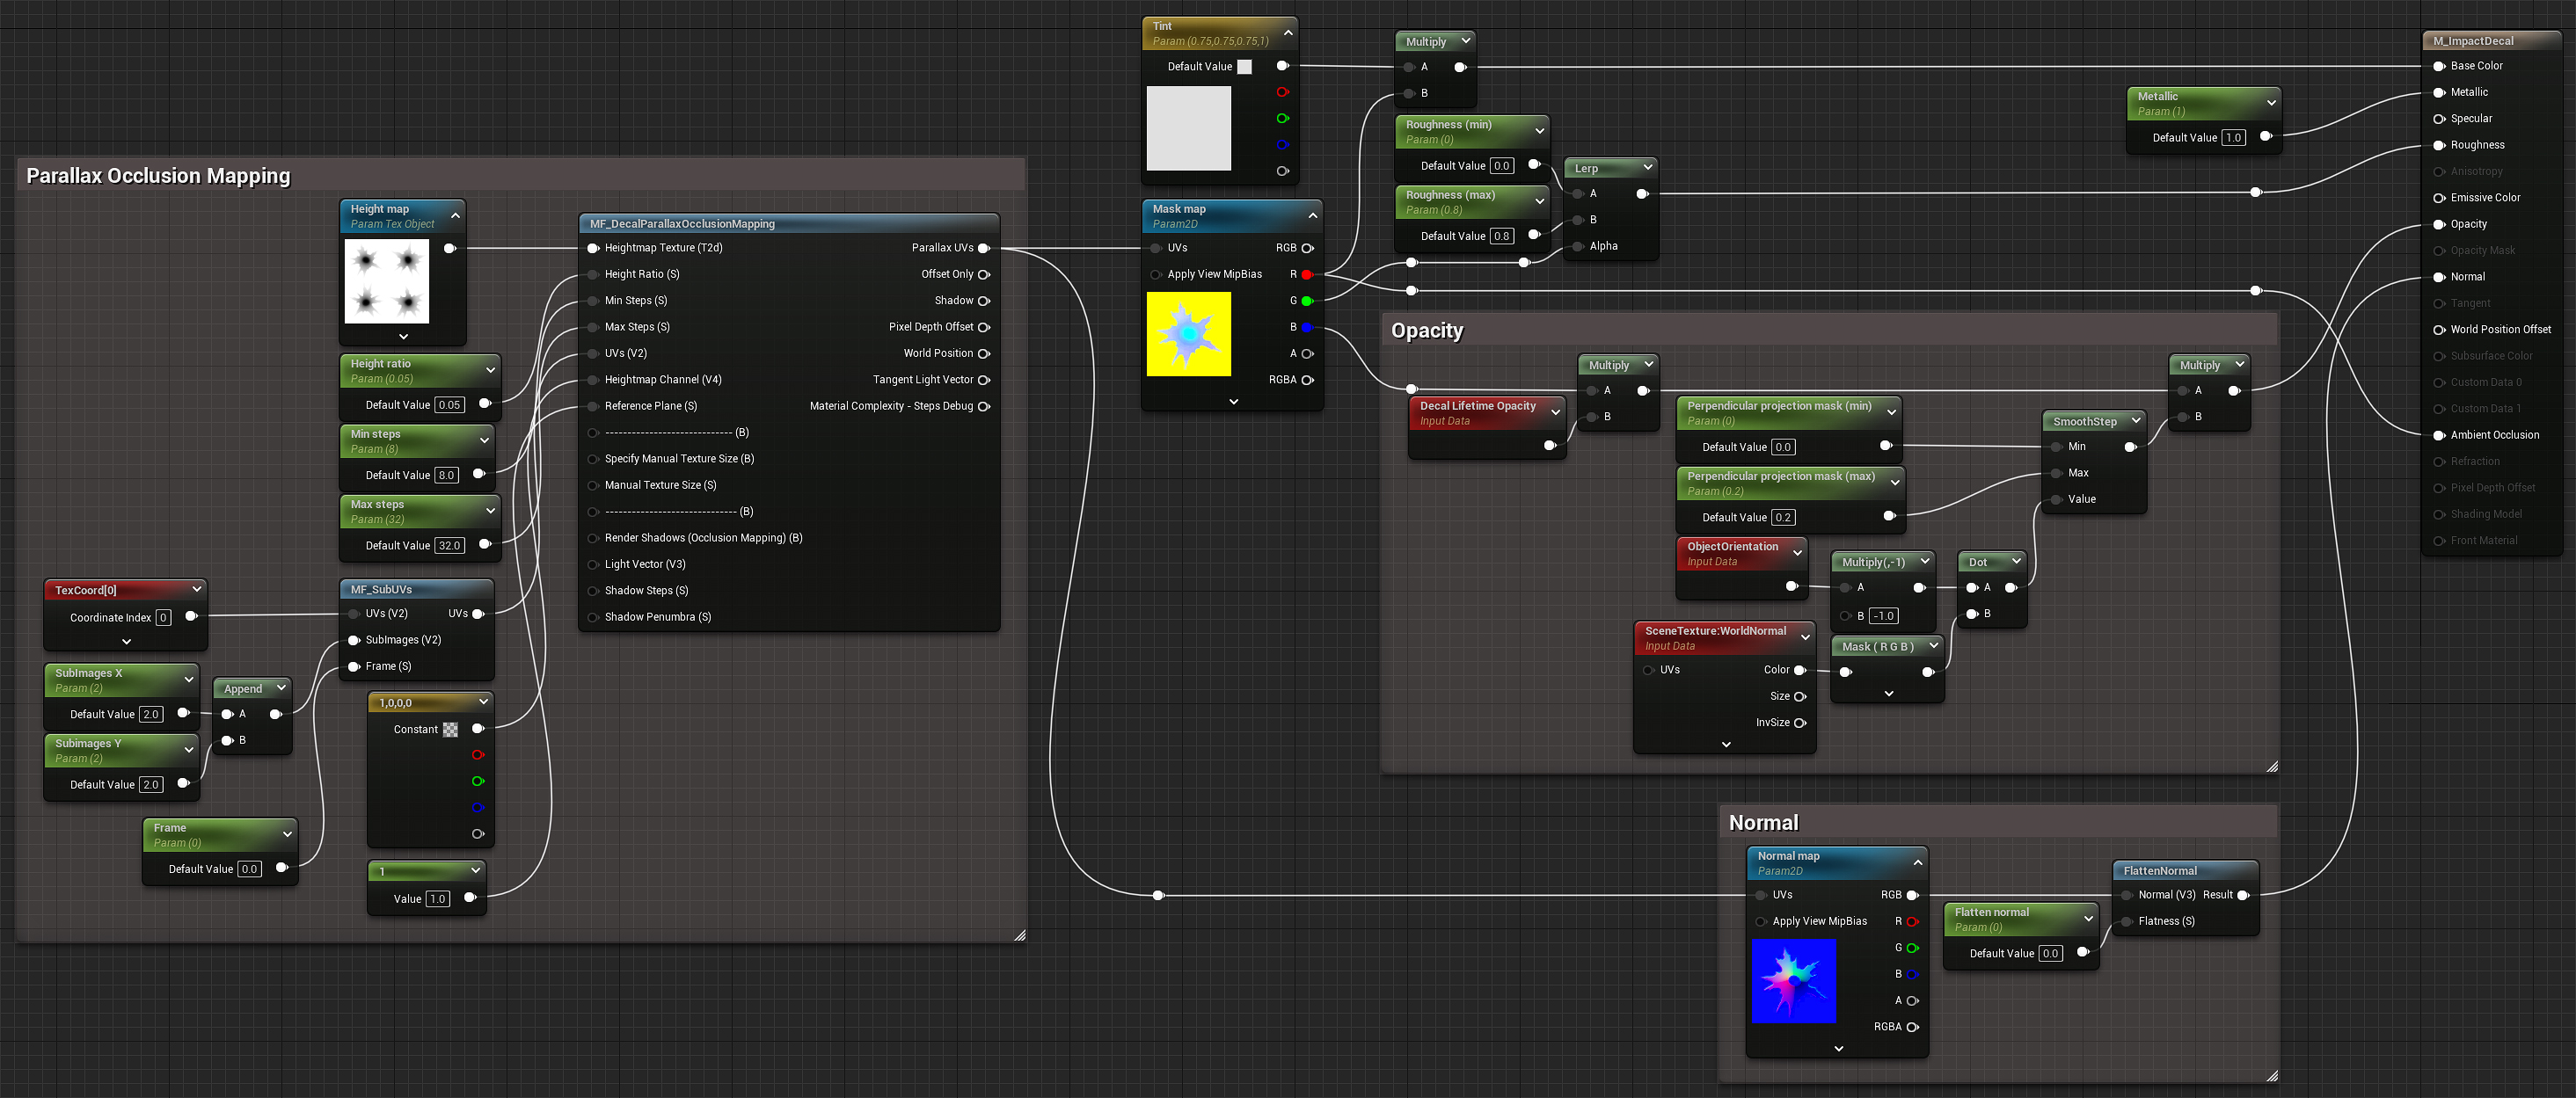
Parallax Occlusion Mapping
Let’s start the breakdown with the Parallax Occlusion Mapping section. This is the first part of our chain because it provides us with the coordinates we’ll feed into the rest of our textures, but it’s also the most expensive and entirely optional.
One of the most amazingly useful things about Unreal’s Deferred Decals are that they’re (relatively) inexpensive, which makes them perfect for our use case because it means we can create a whole lot of them at runtime and not worry too much about their impact on the frame rate.
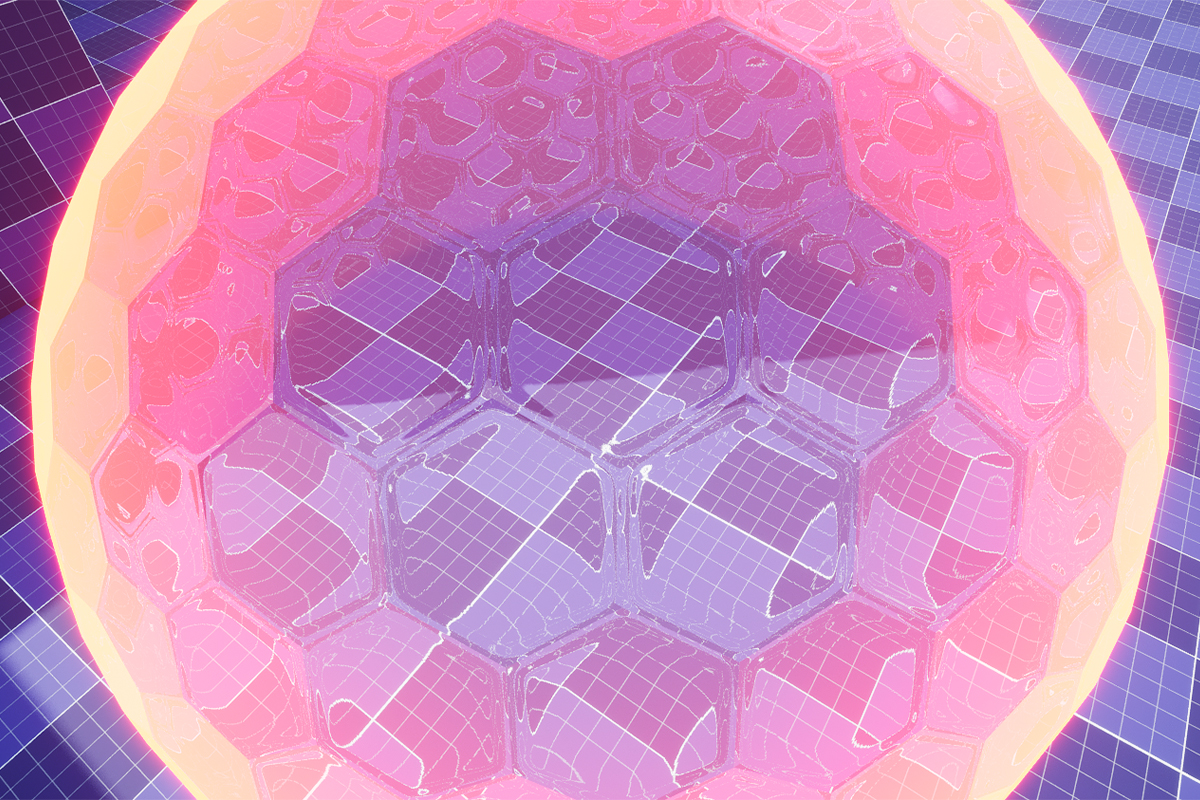
What isn’t cheap at all is a technique called Parallax Occlusion Mapping, which (in simplified terms) uses a height map to create an array of masked slices that are placed at different offset positions based on the direction at which you’re viewing the Material to create the illusion of depth.
Parallax Occlusion Mapping can make a huge difference to the way your decal is perceived. Unfortunately, it’s also one of the most expensive features you can add to a Material. If performance is already a major concern for you (and it really should be) you might consider skipping this bit.
To set this up, Unreal Engine has an inbuilt Material Function called ParallaxOcclusionMapping which does almost everything we need right out of the box. The one issue we’ll face is that some of the information that the POM function relies upon doesn’t exist within a Deferred Decal. This is one of the reasons decals are so inexpensive in the first place.
It’s pretty trippy, but not ideal.
We won’t need to spend our time unpacking this function to get it to work because amazingly that legwork has already been done. Tech artist Douglass Lassance has very kindly shared a solution to this problem within his uassets plugin project, which uses Object Orientation data to calculate the values needed to render the effect correctly.
Further reading
I had almost given up on getting POM to work, so finding Douglas’s work was a very welcome surprise. If you have the chance, you should check out the rest of his work. I found a wealth of interesting and inspirational stuff in there, especially in his twitter feed!
With the DecalParallaxOcclusionMapping Material Function added in all we need to do is to configure some values. Here are the settings I landed on.
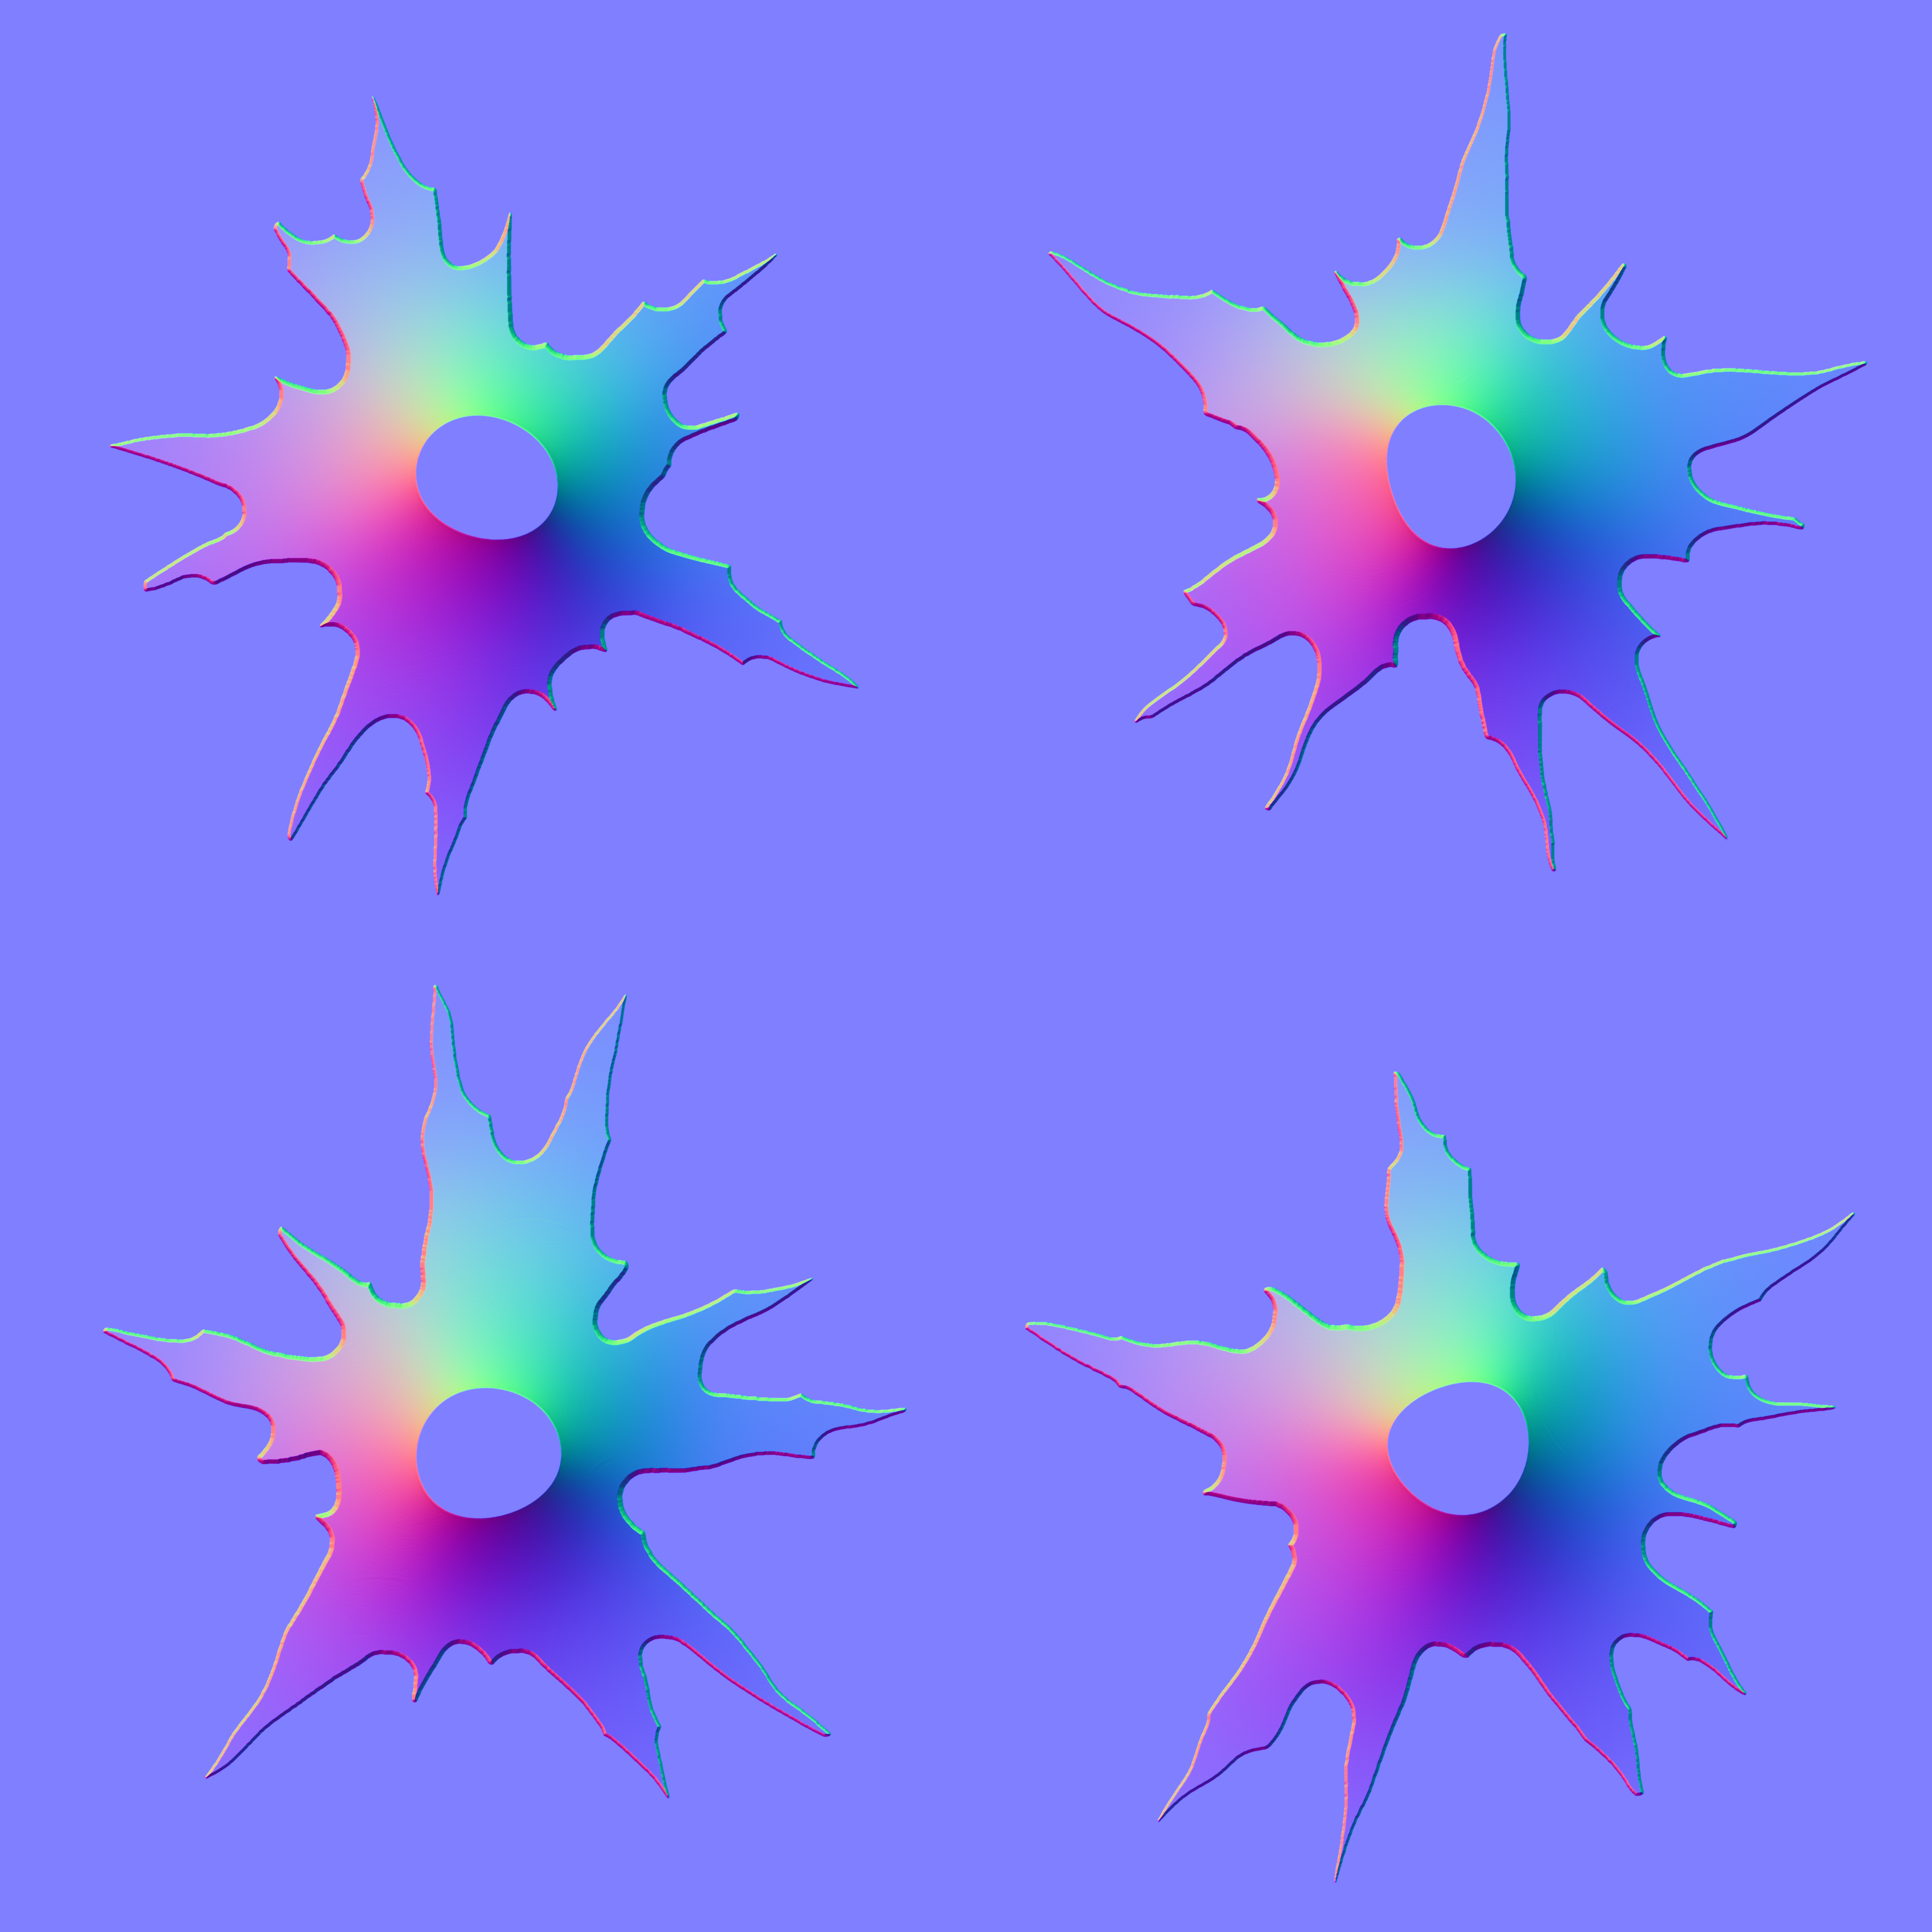
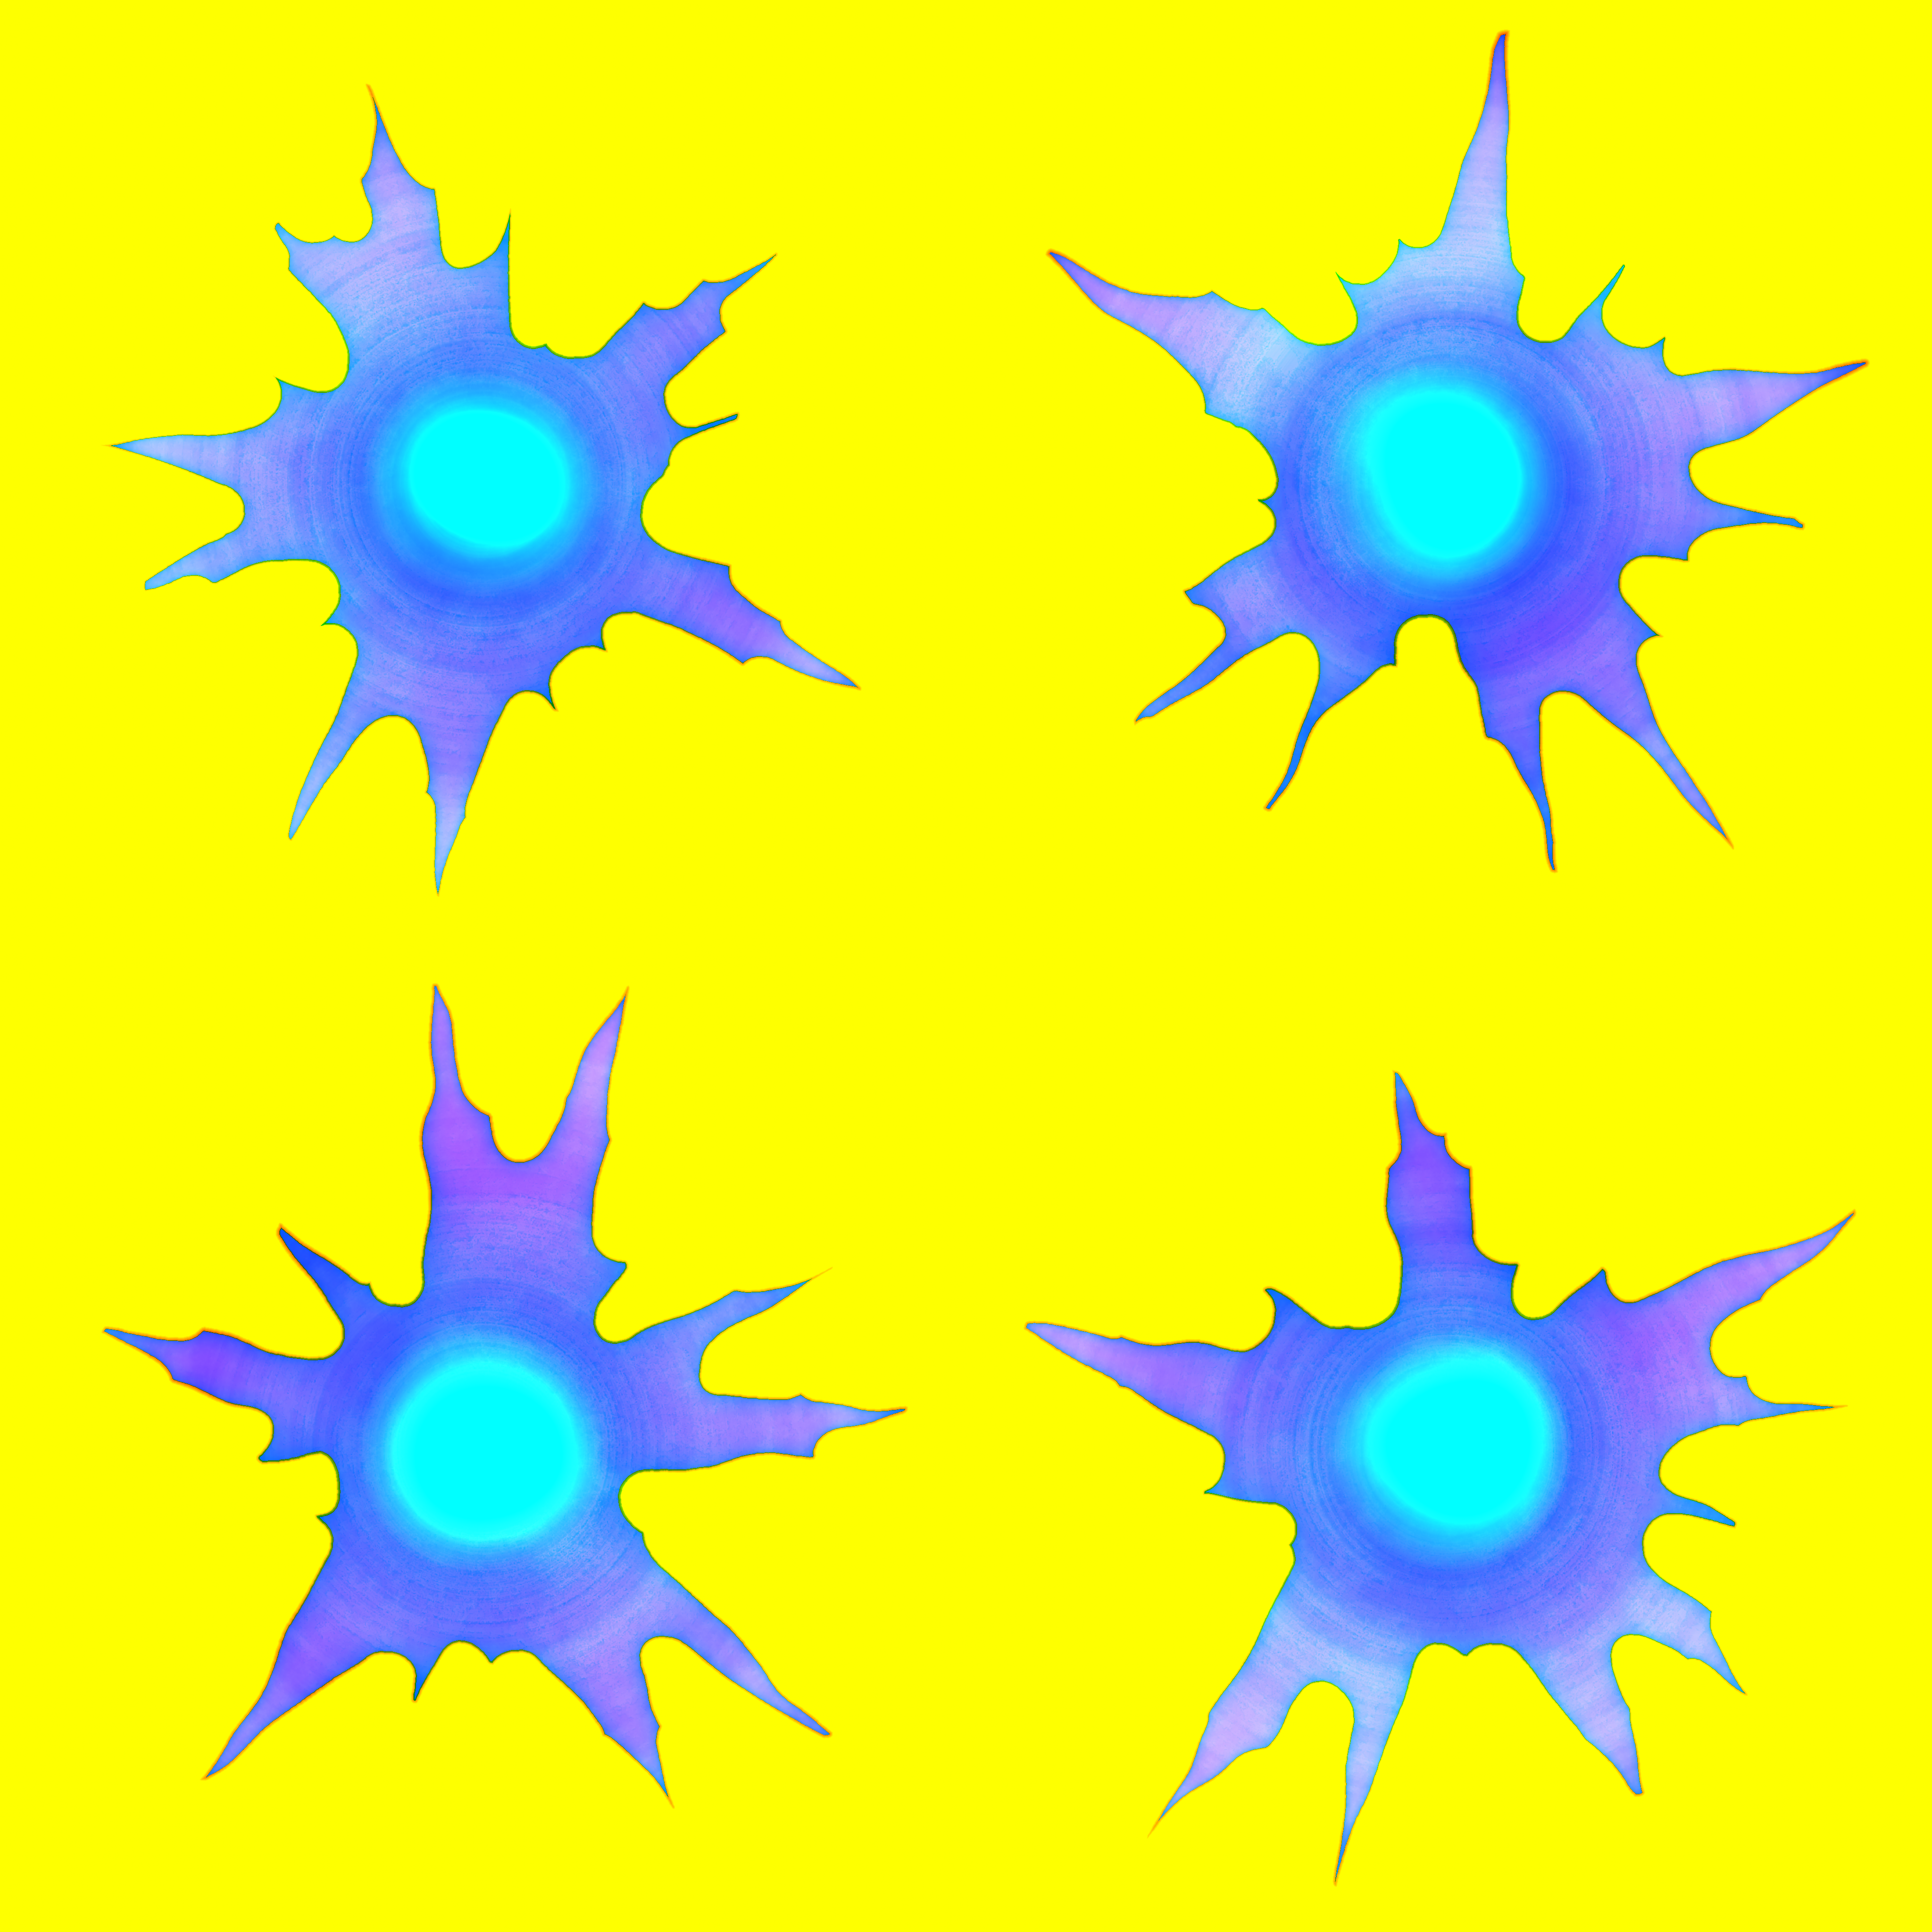
| Heightmap Texture | The height map we made in the Substance Designer part of the tutorial |
| Height Ratio | 0.05 |
| Min Steps | 8 |
| Max Steps | 16 |
| UVs | A TexCoord node or SubUV Function (see below) |
| Heightmap Channel | 1,0,0,0 |
| Reference Plane | 1 |
At some point in the future I’d like to explore all of these options in more detail, but for now I should just warn you that the step values are where this effect can get very expensive. Each step represents another ‘slice’ of the texture, so use as few as you can to sell the effect.

You’ll also notice I’m using another Material Function called MF_SubUVs. This is because I’m using a 2×2 sprite sheet as a texture, so I needed to subdivide my UV coordinates. If you’re using a different layout, you’ll just need to set the number of rows/columns and then use the Frame value to pick a frame. We use this feature later on when we spawn the Decals to create more variation, but it’s not a necessity.

Opacity
Outside of the Parallax Occlusion Mapping section the Material is relatively straight forward.
We feed the Parallax UVs created by our POM function (or just a TexCoord node if you’re skipping that part) into two RGB texture samplers; a Mask (Ambient Occlusion/Roughness/Opacity) and a Normal Map. I’m cheating a little bit by using a tinted version of the AO channel of the Mask for the Base Color. I think it looks okay, and it saves us from needing to use another texture.
The only thing that’s a little out of the ordinary in the rest of the Material is the Opacity chain, which is doing a few interesting things specifically for Decals.
Firstly, it’s multiplying the opacity by a Decal Lifetime Opacity value, which will make the Decal slowly fade out over its lifetime instead of just blinking out of existence when it reaches the end.
We’re also using a dot product to compare the world normal of each pixel and the inverse direction of the Decal’s orientation before stepping the result between two scalar parameters. The result of this will make the Decal fade out on perpendicular surfaces. This is another optional feature, but I’ve found it to be very useful in getting rid of some of the ugly stretching that can occur with projected textures.
Applying the Decal
There are so many ways our Impact Decal can be implemented, and at the end of the day most of the specifics will be determined by the needs of your project and the weapons you’ve designed. For now I thought I’d keep it simple and lean on the mechanics that mostly already exist in our First Person template project as it already comes with basic movement and camera controls.
There are just a few short blocks of Blueprint code that we need to get up and running.
Side note
This tutorial’s already getting a bit long, so I’m just providing a quick overview of this functionality. You can download the full project here if you’d like to unpack it further. If you have any questions, please let me know!
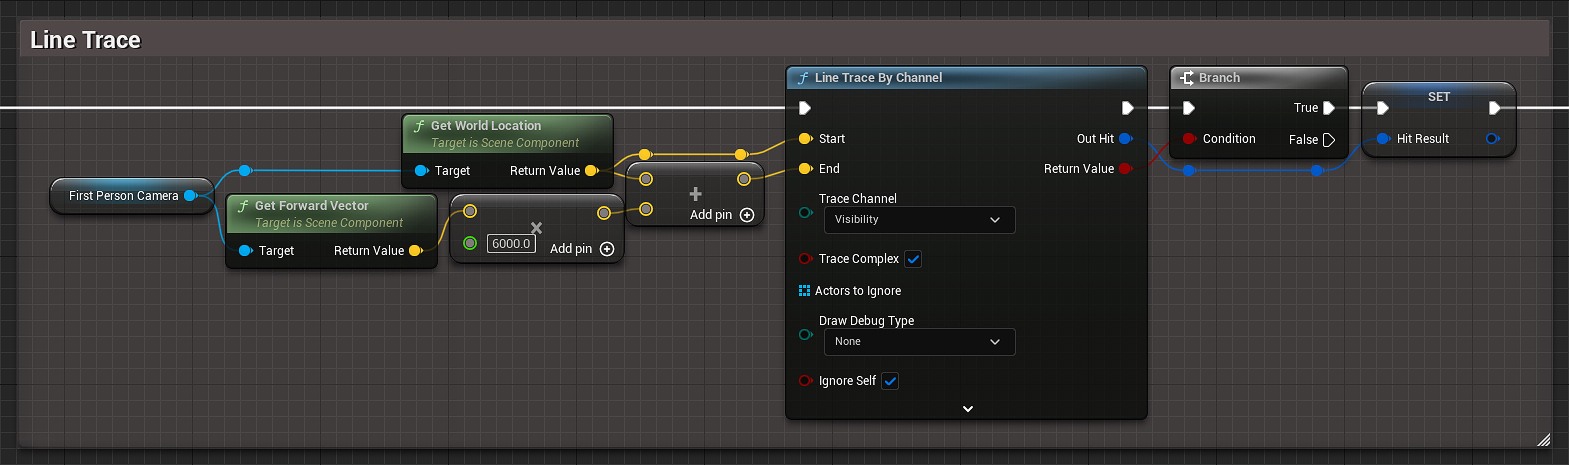
Hit Detection
We’ll be making a simple hitscan weapon this time, which means using a single line trace to determine if and where a hit lands before we draw our Decal on the object’s surface.
Your game will likely be way more complex than this, but for our purposes all we need to do is trace outward along the camera’s forward vector and save the result.
Spawning the Decal
Once we have a hit result we can use its Impact Point and Impact Normal values to place our Decal. We use the former to define the location of the newly spawned Decal, and the latter for its rotation, with a random value between -180 and 180 applied to the Roll axis to make it less obvious that we’re only using a few shapes.
I am using a Spawn Decal Attached node because the game I’m working on has a lot of Physics Actors and I want my Decals to move with the object they hit.
If you’re using a sprite sheet (like I am) it’s in this section that you’d also need to create a Dynamic Material Instance to randomize the Frame value.
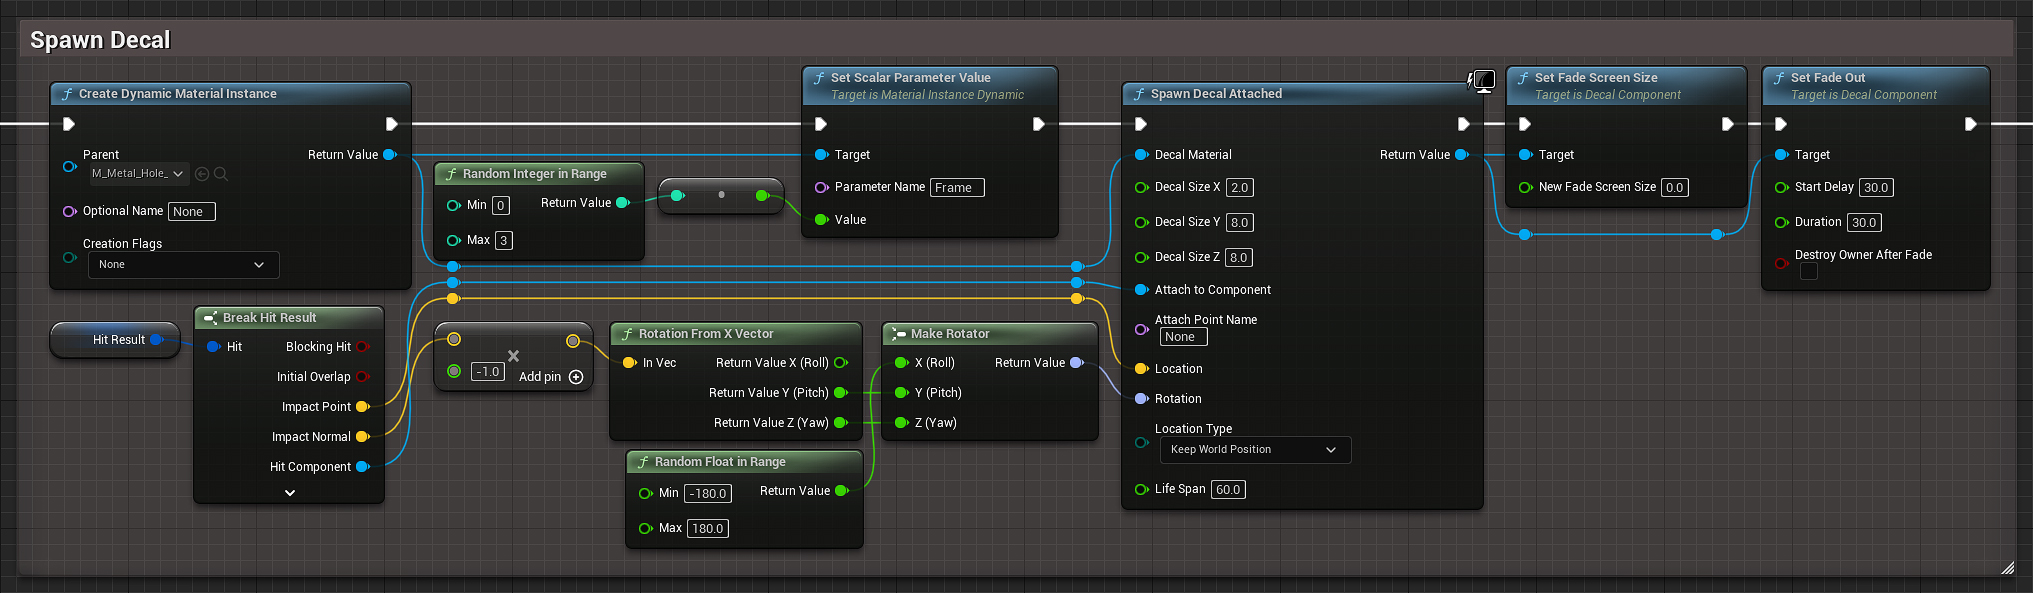
We then set the Fade Screen Size to 0.0 because I don’t want the decals to stop being visible if they get too small. They’re bullet holes, so they’re small enough already.
Finally, we set the Start Delay and Duration of the Decal’s Fade Out time to 30 seconds, which will make the Decal live for 30 seconds before starting to fade out over the next 30. If you have a lot of Decals and your performance is starting to suffer, lowering these values should help.
What’s next?
What we’ve covered here has just been the bare bones basics on getting up and running with an impact decal. If you’ve downloaded the project you’ve probably noticed I’ve already added a bunch of other little things that make the shooting feel more fun and interesting. With a little camera shake, a small physics impulse on hit, and the pitch-shifting of the impact sound based on the size of the object, it’s just a better shooting experience. At least in my opinion!
Some things I’d like to come back and add when I have some time:
- Particle impacts
- Ricochet detection (different sounds and decals for glancing shots)
- Different sounds and decals for shots that bounce vs. those that penetrate
It’s the little things that can make all the difference. Thanks for reading, and don’t forget: Juice it or lose it!