
Texture data commonly represents the bulk of an Unreal project’s size, sometimes taking up more disk space than the rest of your game’s assets combined. If left unchecked the sheer amount of texture data can slow down both your game’s performance and your team’s production speed – especially on larger projects.
This doesn’t have to be the case.
Unreal Engine provides a wide range of texture compression settings and presets in the Texture Properties Editor. These options can be used in a variety of ways to significantly reduce the amount of texture data your game requires with the minimum impact on visual fidelity.
Getting the most out of Unreal’s texture compression tools is just a matter of understanding a little bit about how texture compression works, and how Epic intends their system to be used.
Heads up
Are you a Unity developer who’s landed on this page by mistake? Fear not, for I have written a companion article that’s all about the texture compression settings you’ll find within Unity that you can access here!
What is texture compression?
Texture compression is a principal part of the larger sphere of texture optimization, the practice of reducing the amount of texture data that needs to be loaded at any one time to improve performance, and reducing the overall amount of texture data in your game to keep build sizes and loading times down.
Essentially, the goal of texture compression is to reduce the amount of data stored in a texture by culling any that can be seen as expendable or less important.
Unlike the kind of image compression that you might get when exporting from image-editing programs like Photoshop, the texture compression formats you’ll find in game engines are designed specifically for application in real-time. As a general rule, this means that the compression is fast and adaptable, but not lossless.
As always, with data compression of any kind it will come down to a tradeoff between visual quality and file size. In a game engine this translates to a tradeoff between graphical fidelity and performance.
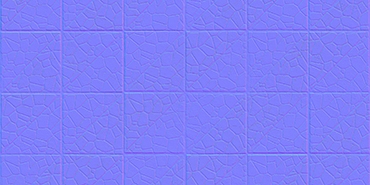
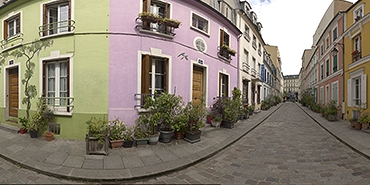
My demo textures
Throughout this post I’ll be using some simple textures to illustrate the different settings we’ll be exploring. I hope they’ll be able to give you an indication of the kind of visual fidelity to expect. Keep in mind that anything you see here will have an additional unavoidable layer of jpg compression so it won’t be 1:1.
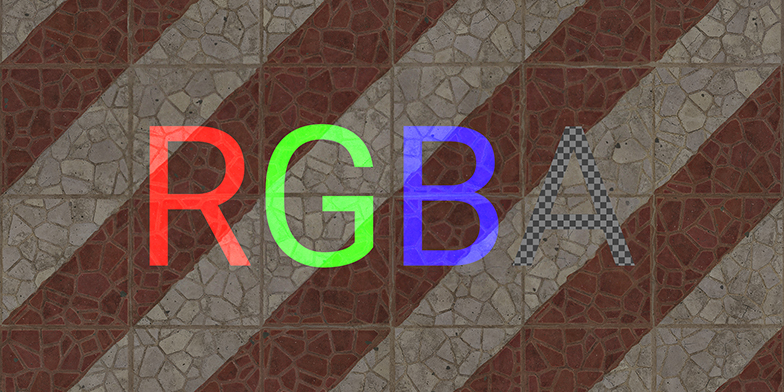


All of the screenshots and statistics found in this guide are from my machine that’s running DirectX 12.
A note about color depth
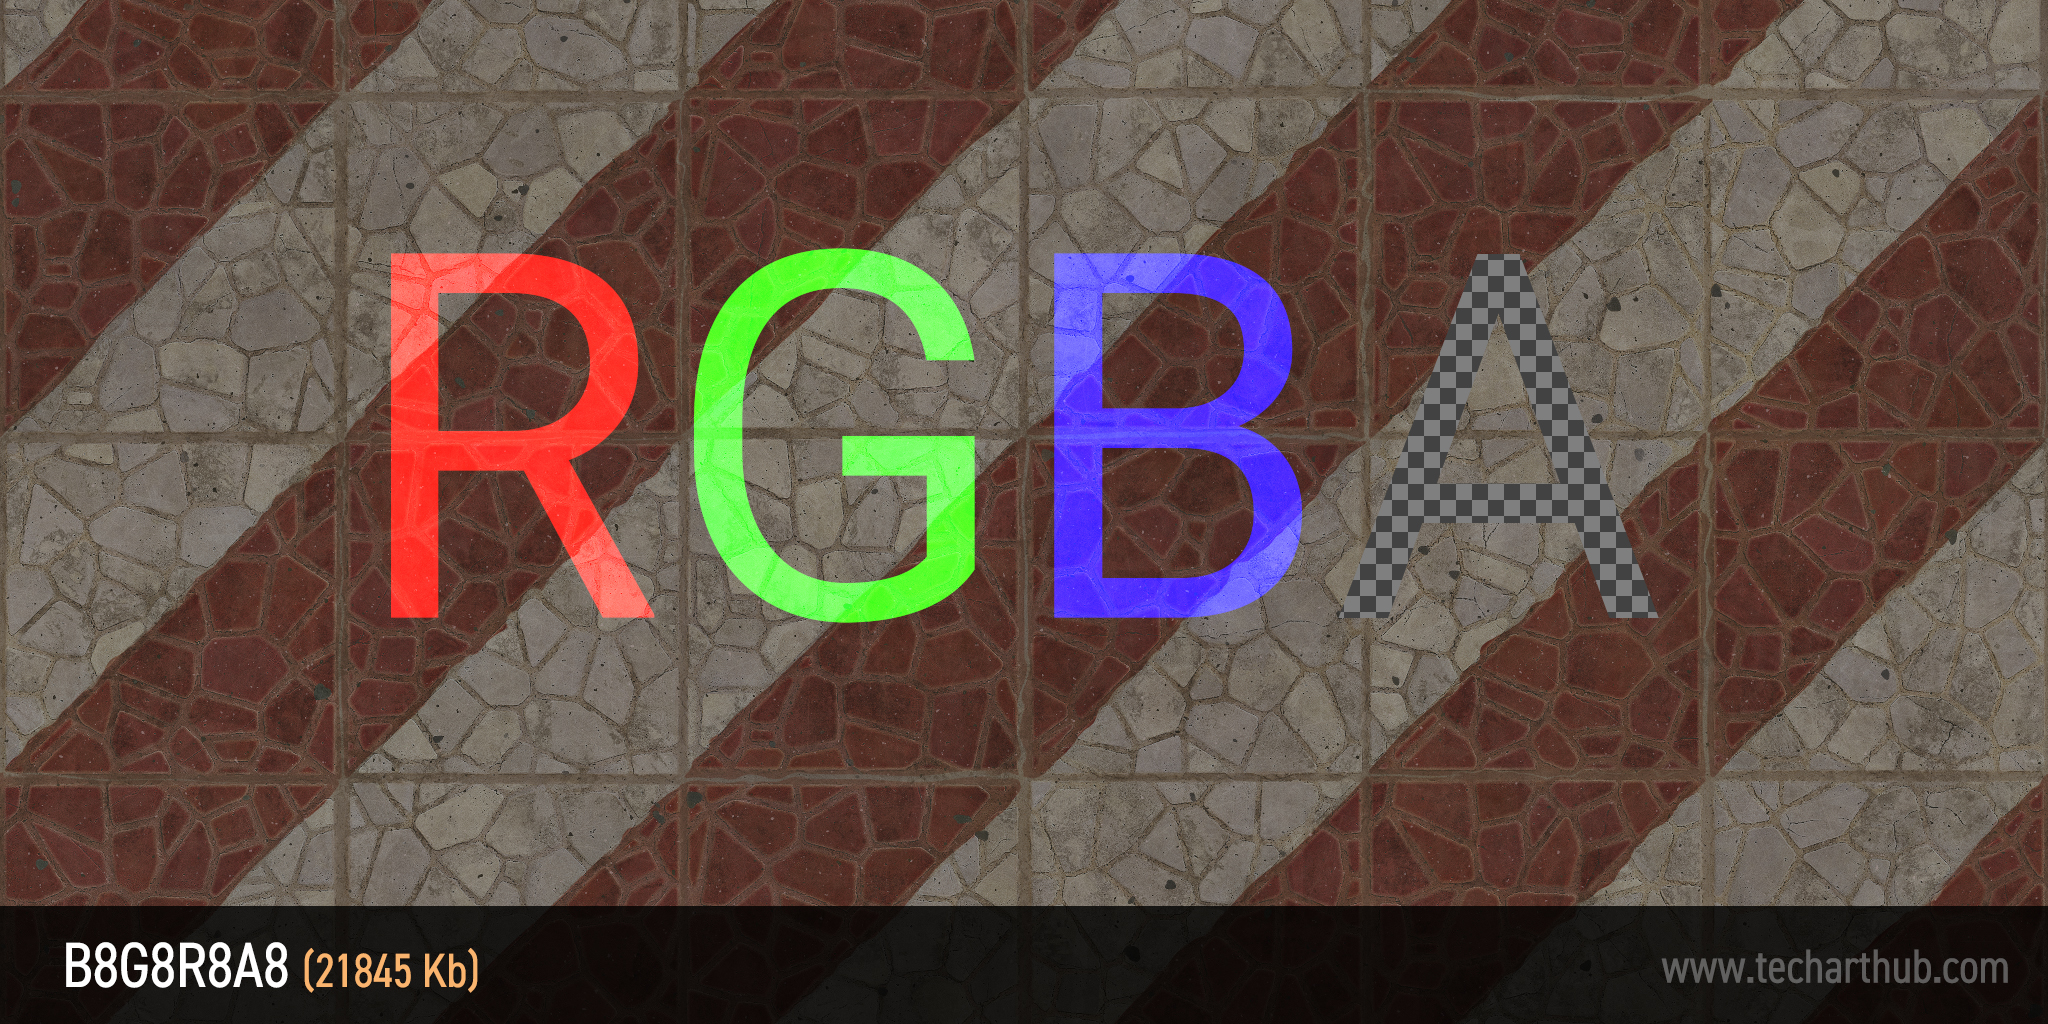
The color depth of an image describes how much memory is being used to store the color data of each pixel. If an image has an 8-bit color depth, this would mean the color value of each pixel is stored inside 8 bits of data. This information is usually (but not always) spread across multiple color channels that, when combined, produce the final color.
In the case of our 8-bit image, the distribution would be 3 bits in the red channel, 3 bits in the green, and 2 bits in the blue.

Color/Bit depth defines the color range of a texture as well as it’s overall size in memory. The following table contains some of the more common color depth formats that we’ll be referencing in the rest of the guide.
| Depth | Distribution | Colors |
|---|---|---|
| 8-bit (RGB) | R3 G3 B2 | 256 |
| 16-bit (RGBA) | R3 G3 B2 A8 | 256 + alpha |
| 16-bit (RGB) | R5 G6 B5 | 65,536 |
| 24-bit (RGBA) | R5 G6 B5 A8 | 65,536 + alpha |
| 24-bit (RGB) | R8 G8 B8 | 16,777,216 |
| 32-bit (RGB) | R8 G8 B8 A8 | 16,777,216 + alpha |
If you’re interested in learning more about color depth and how it’s stored this video is a good primer.
The Texture Properties Editor
All of the settings we’ll be looking at in this article are found in the Texture Properties Editor, which you can find by double-clicking any texture file in your Content Browser.
This editor contains a lot of configurable options. Here are the ones relevant to our discussion today.

At the very top of the Details panel you’ll find an overview of your textures’ resolution, size on disk, streaming method, compression format, and mipmapping information. As we experiment with different compression methods, you’ll be able to see the changes reflected here, so we’ll be coming back to this overview regularly.
Just below the texture statistics is the Compression section. This is where we’ll be configuring our texture compression settings to get the best possible result.
Compress Without Alpha
This one is pretty straight-forward. If Compress Without Alpha is checked, then the alpha channel of your texture will be removed during compression. This is mostly relevant because the presence of an alpha channel in your texture may dictate which compression formats are available to you.
If your source texture has no alpha channel to begin with this setting will have no effect.
Defer Compression
By default the Editor will attempt to recompress your texture every single time you make a change within your compression settings. When this happens you might experience a performance hitch as it updates the file, especially with larger texture files or on lower-spec systems.
If this is causing problems you can check the Defer Compression box and the engine will only recompress your texture when the asset is saved.
Compression Settings
The Compression Settings dropdown allows you to select from a series of preset compression profiles for your texture. This is your most important decision as these profiles dictate the type of algorithm the engine will use to reduce the size of your file (if any).
Each profile has its own advantages and disadvantages, but they are often helpfully named after the most common use case in which Epic expects it to be used so it’s not too difficult to find the right one for you.
That said, the most important information found in the name of each of these compression profiles is not the use case, but rather the acronyms and values listed within the parentheses that follow. These letters and numbers tell you the specific compression format(s) being utilized by each profile and hint at what’s going on behind the scenes.
It’s also worth pointing out that the names of these compression profiles are not always indicative of what they should be used for. It’s best to consider them as strongly-worded suggestions, and use whatever format profile best serves your project’s specific requirements.
Let’s go through the list.
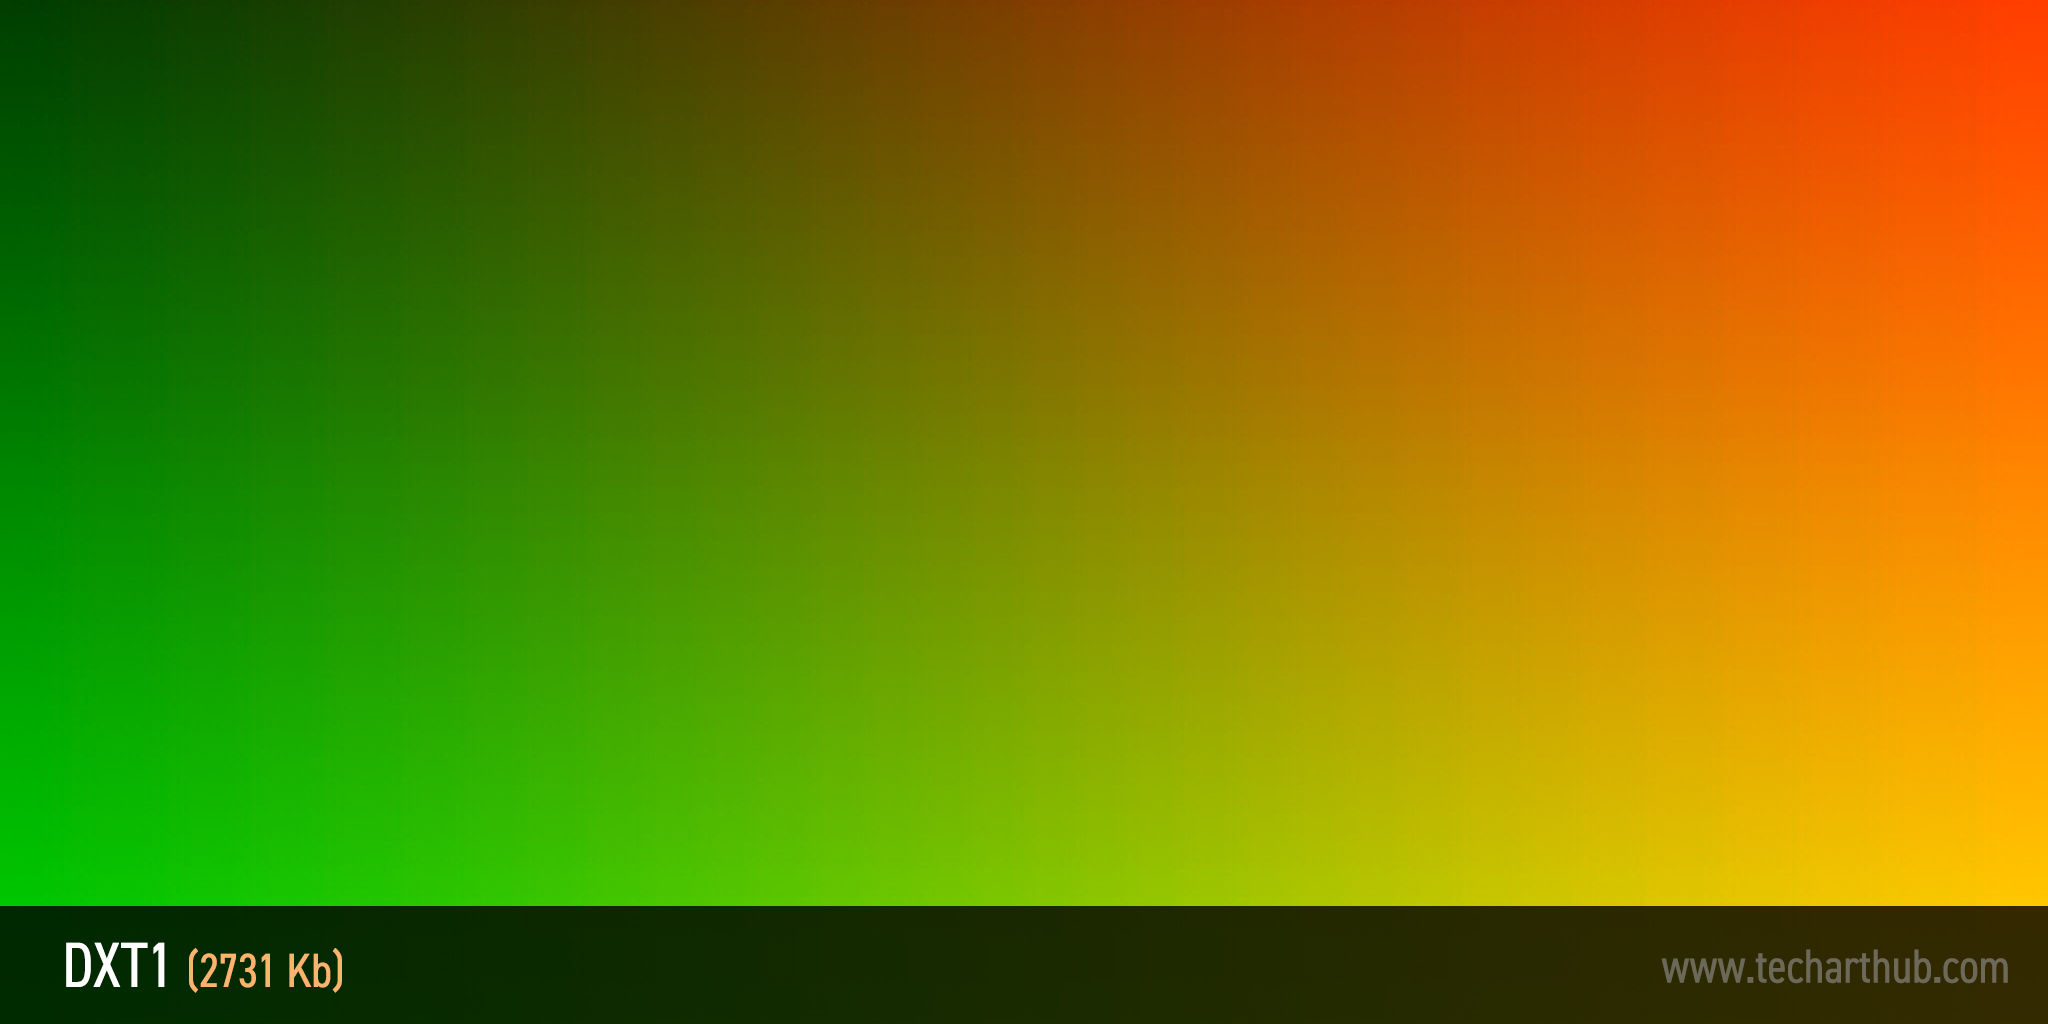
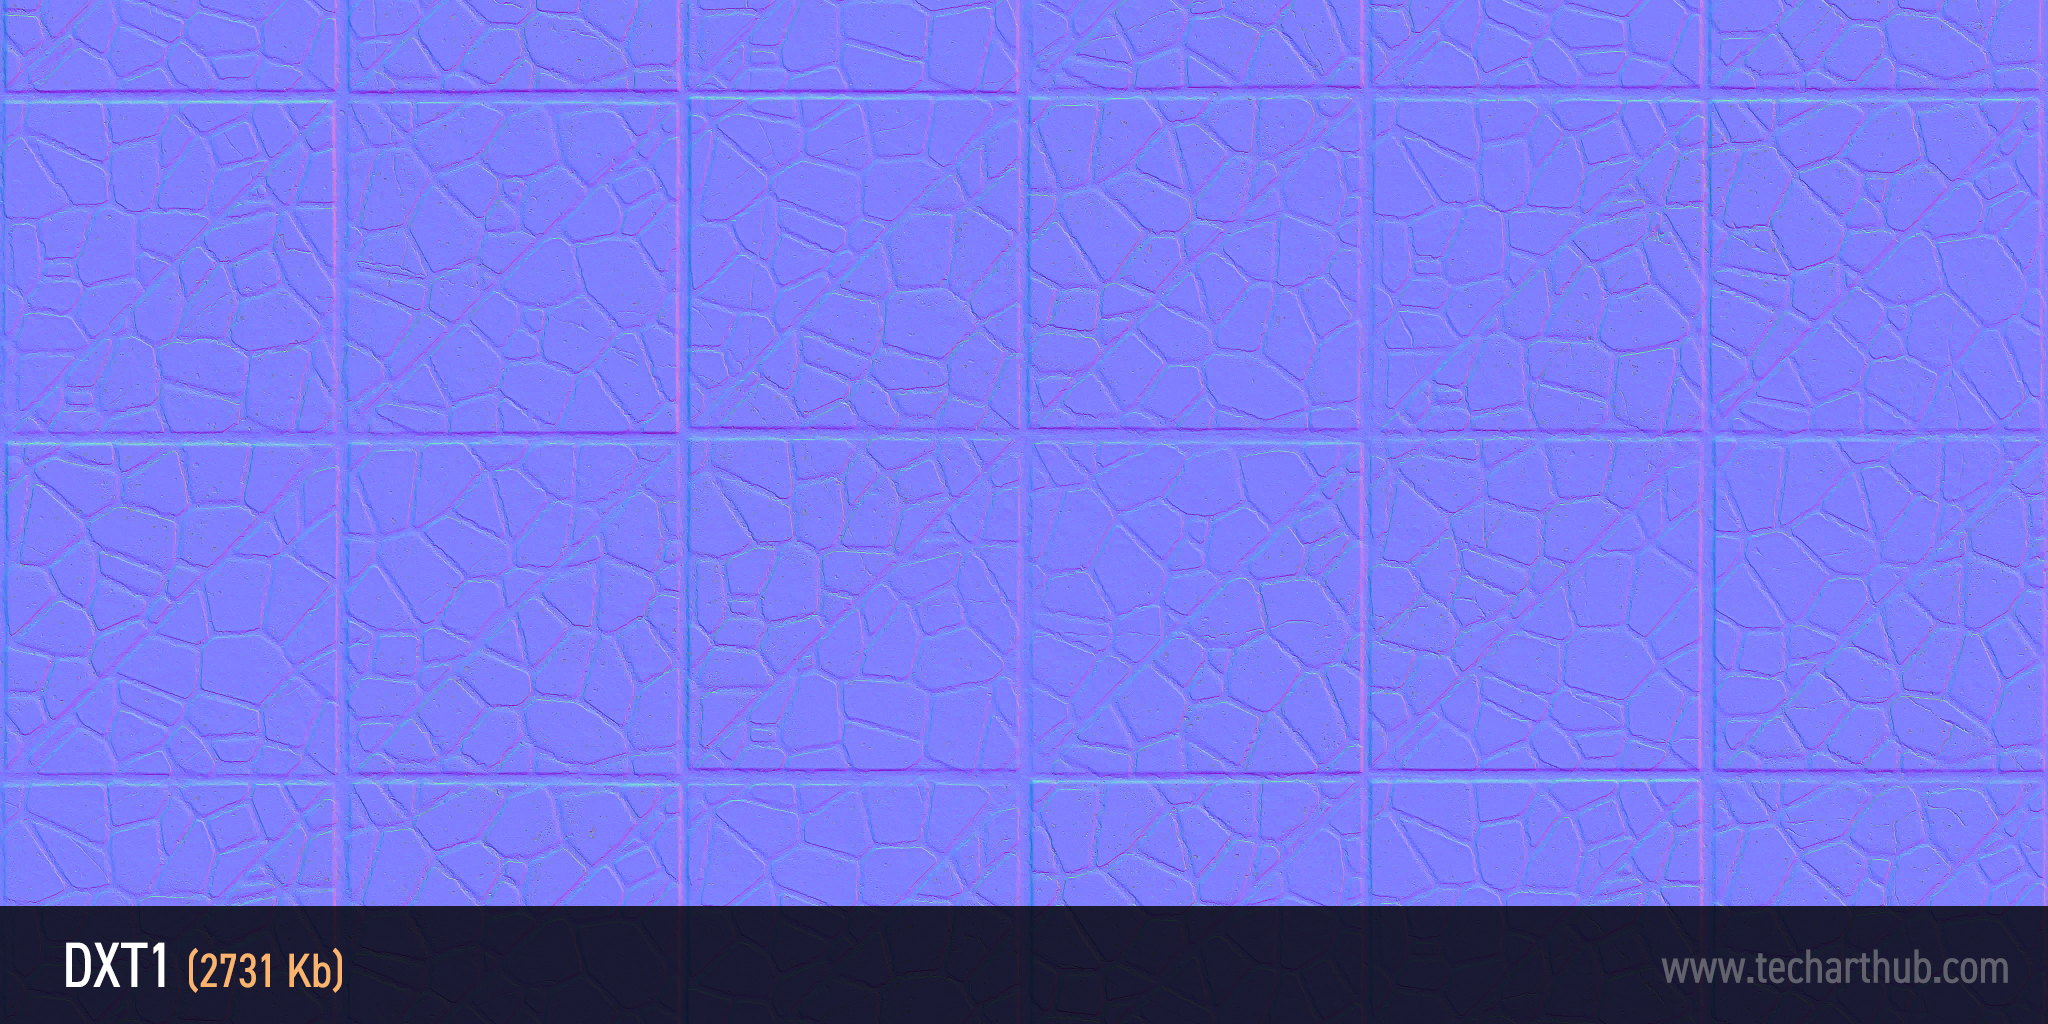
Default (DXT1/5, BC1/3 on DX11)
The most effective compression profile. Intended for albedo/diffuse textures.
Default is the most common compression profile for textures that use non-linear (or gamma-corrected) color information, like albedo/diffuse texture maps. It will use one of two S3 Texture Compression (S3RC) compression methods depending on the presence of an alpha channel in your source texture.
If your texture doesn’t have an alpha channel, the engine will use a format called DXT1. This is the most performant compression format that Unreal has to offer, and it will reduce the size of your texture by a factor of six. If an alpha channel does exist, it will use a different format called DXT5 which will reduce the size of your texture by a factor of four.
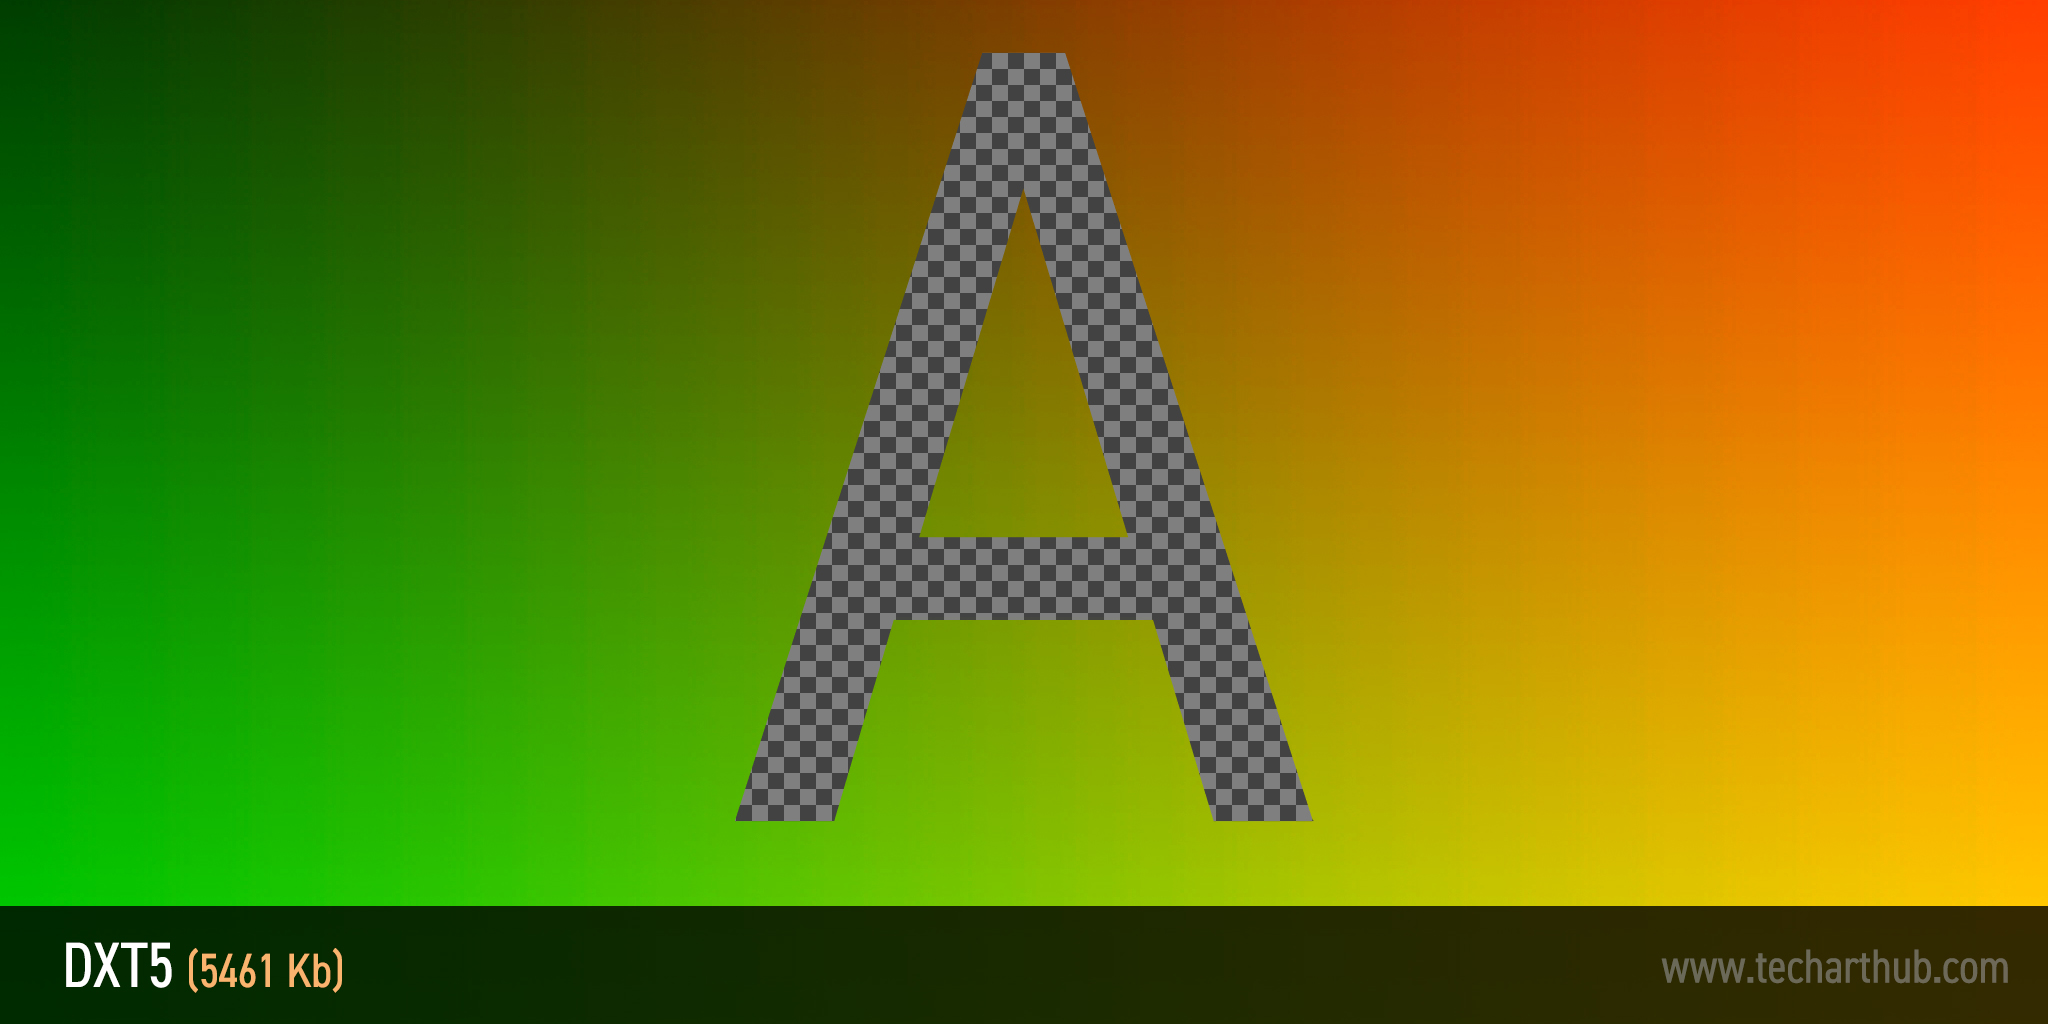
When using this profile, the addition of an alpha channel will take up the same amount of disk space as the three other channels combined. Just something to consider before you decide to append one to your diffuse map.
Keep in mind
DXT compression has a tendency to create square-shaped artifacts, as the way it reduces the size of your texture data involves a process of dividing the image into 4×4 pixel squares and approximating their values. This is usually not a problem for albedo texture maps with a lot of noise, but may not make it as suitable for smooth gradients or for things like pixel art.
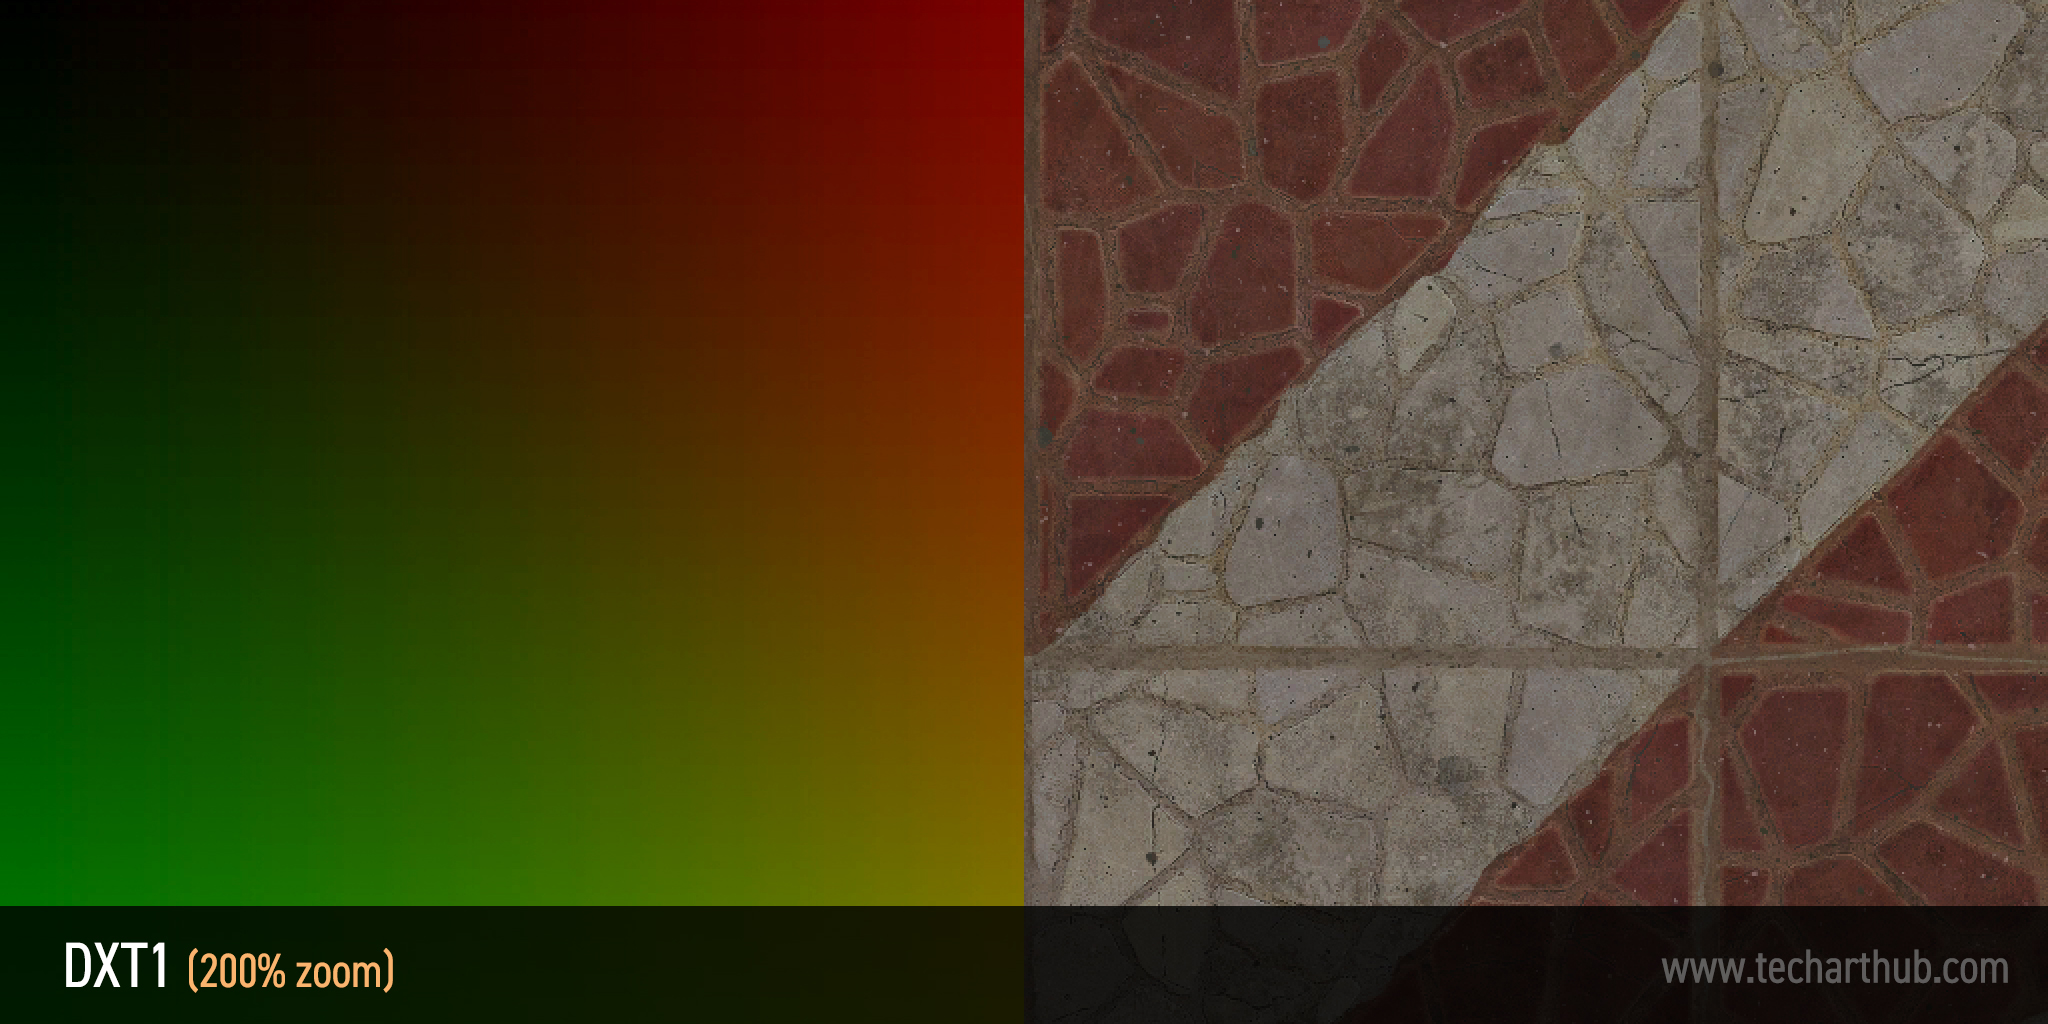
For further information (including a magnificent breakdown on S3 Texture Compression and how it works) check out Joost van Dongen’s development blog here.
If you’re using DirectX 11 and above, behind the scenes the engine will instead be using S3TC formats called BC1 or BC3, depending on the presence of an alpha channel. BC (standing for Block Compression) 1 and 3 are just the newer names for DXT1 and DXT5 respectively. From my understanding the implementation is practicably the same.
Normalmap (DXT5, BC5 on DX11)
Perfect for normal maps (and maybe flow maps) and that’s about it.
Where possible this profile will use BC5, an S3TC format that has been optimized for use with normal maps. If it can’t use BC5 it will fall back to using DXT5 as discussed above.
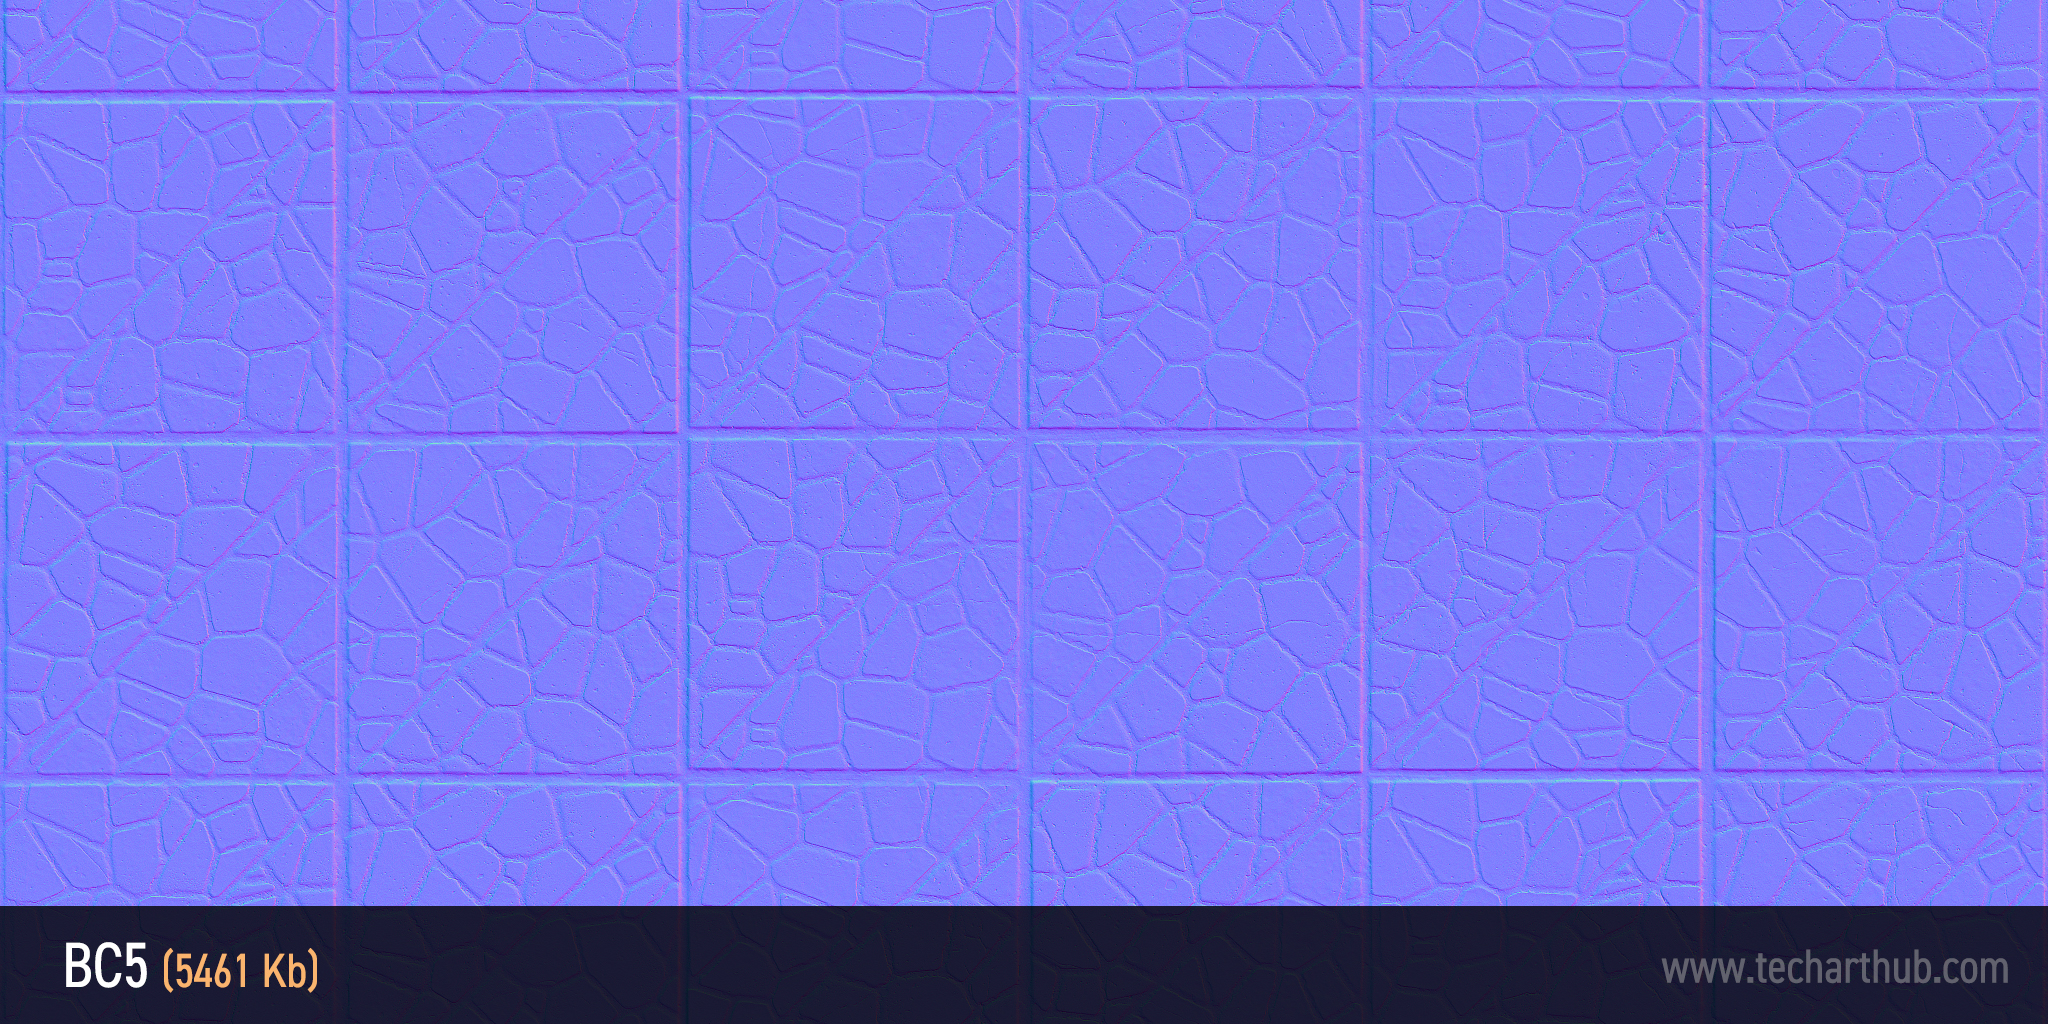
BC5 compression creates a compressed two-channel 16-bit texture by discarding the source’s blue channel (it will be filled back in programmatically), moving the texture’s green information into the 8 bits of the alpha channel, and using the remaining 8 bits to store the red. This makes it a very effective compression format for normal maps but not much else.
Just remember that BC5 discards the blue and alpha channels of your original texture, so if you want to retain these channels you’ll need to use a different profile (and if you do, remember you may need to use this workaround in the material editor to get your normal maps to behave correctly).
Masks (no sRGB)
Identical to the Default profile, but with one important exception.
The Masks profile is the same as Default in that it will use the DXT1 format if there isn’t an alpha channel, and DTX5 if there is. The one and only difference between the two is that Masks does not support sRGB, so all texture data will be presented in linear space.


Going into detail about what sRGB is and how it works might be beyond the scope of this guide, but to quickly summarize it’s relevance to us: sRGB is a form of gamma correction that will attempt to ensure your texture’s colors present correctly on any display, irrespective of the specific hardware. For textures that are being used to store mathematical data (like a normal map or a physically based rendering mask) this isn’t something you want enabled.
In compression profiles that support it, sRGB can be enabled/disabled via a checkbox under the Texture subheading in the Properties Editor. The Masks profile is functionally the same as the Default profile with the sRGB setting manually unchecked.
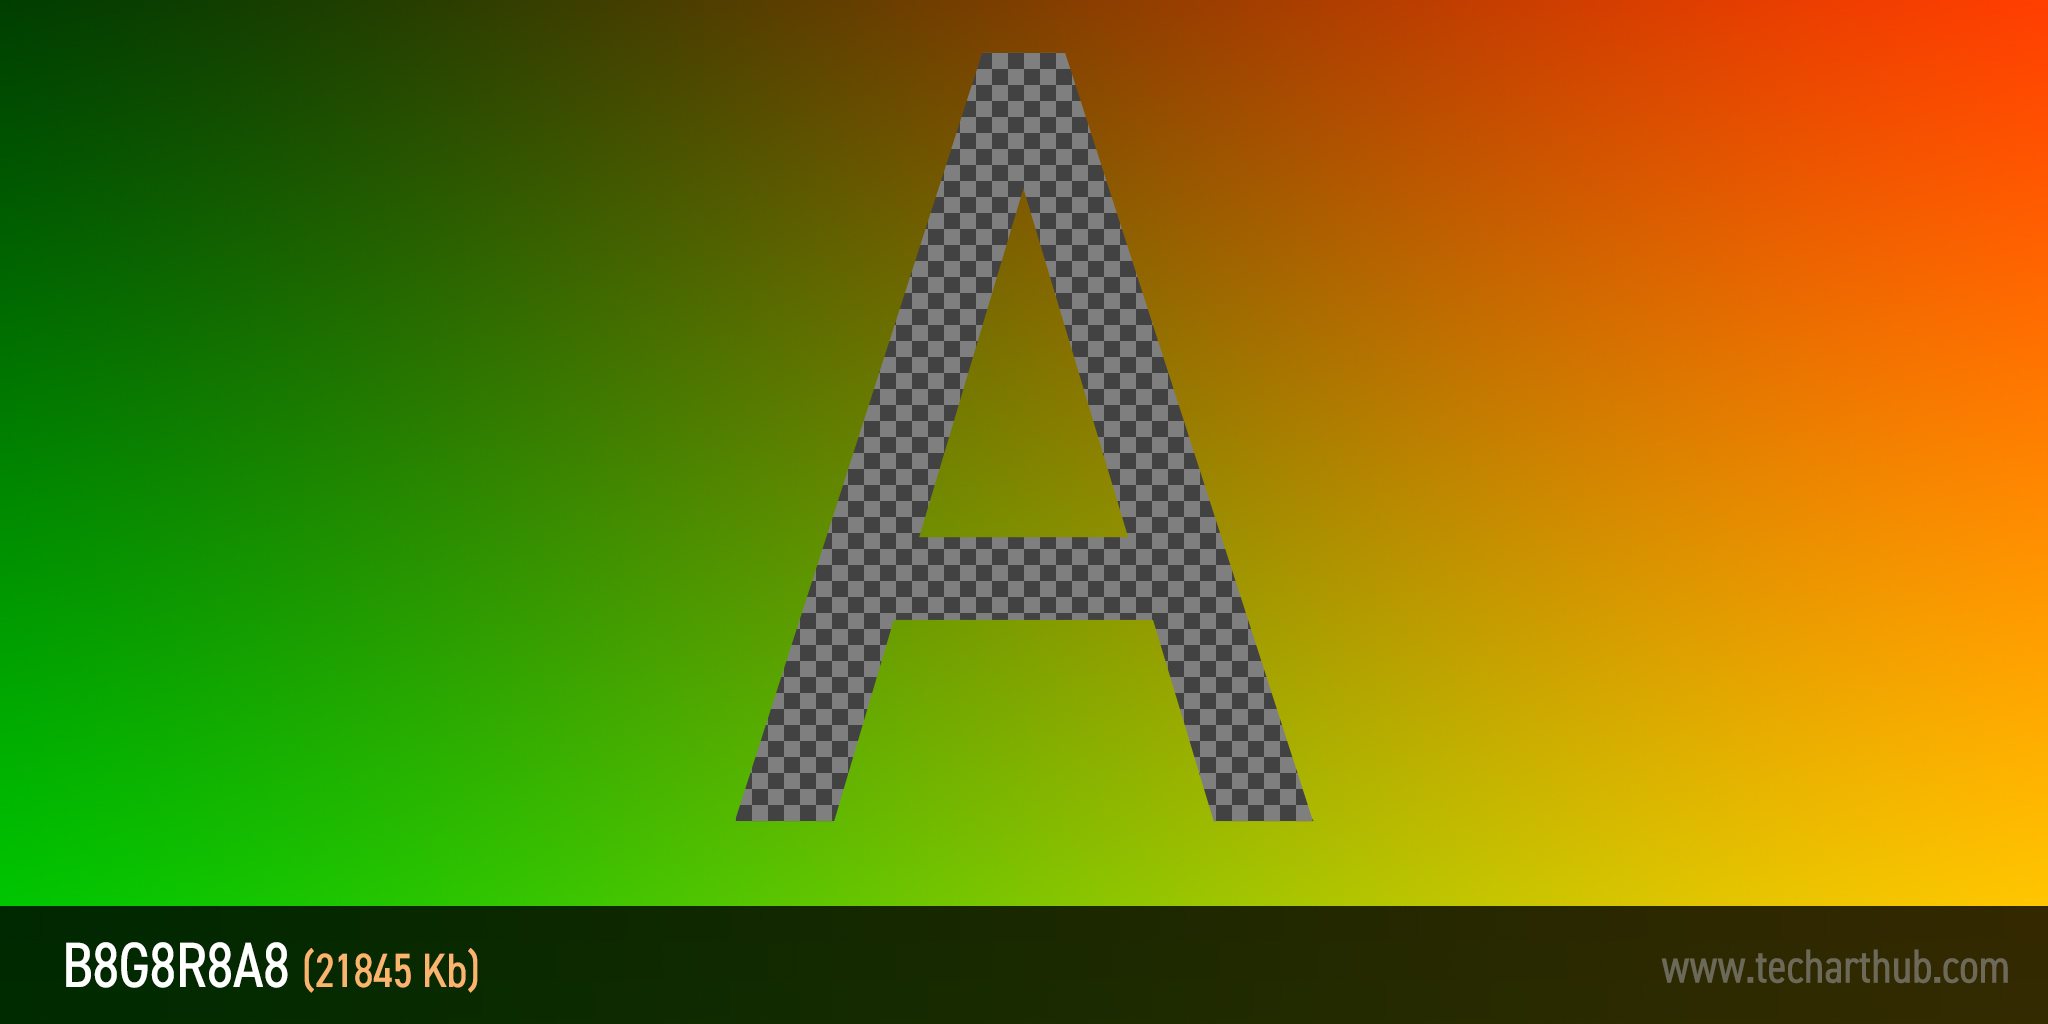
Grayscale (R8, RGB8 sRGB)
A multipurpose uncompressed single-channel format.
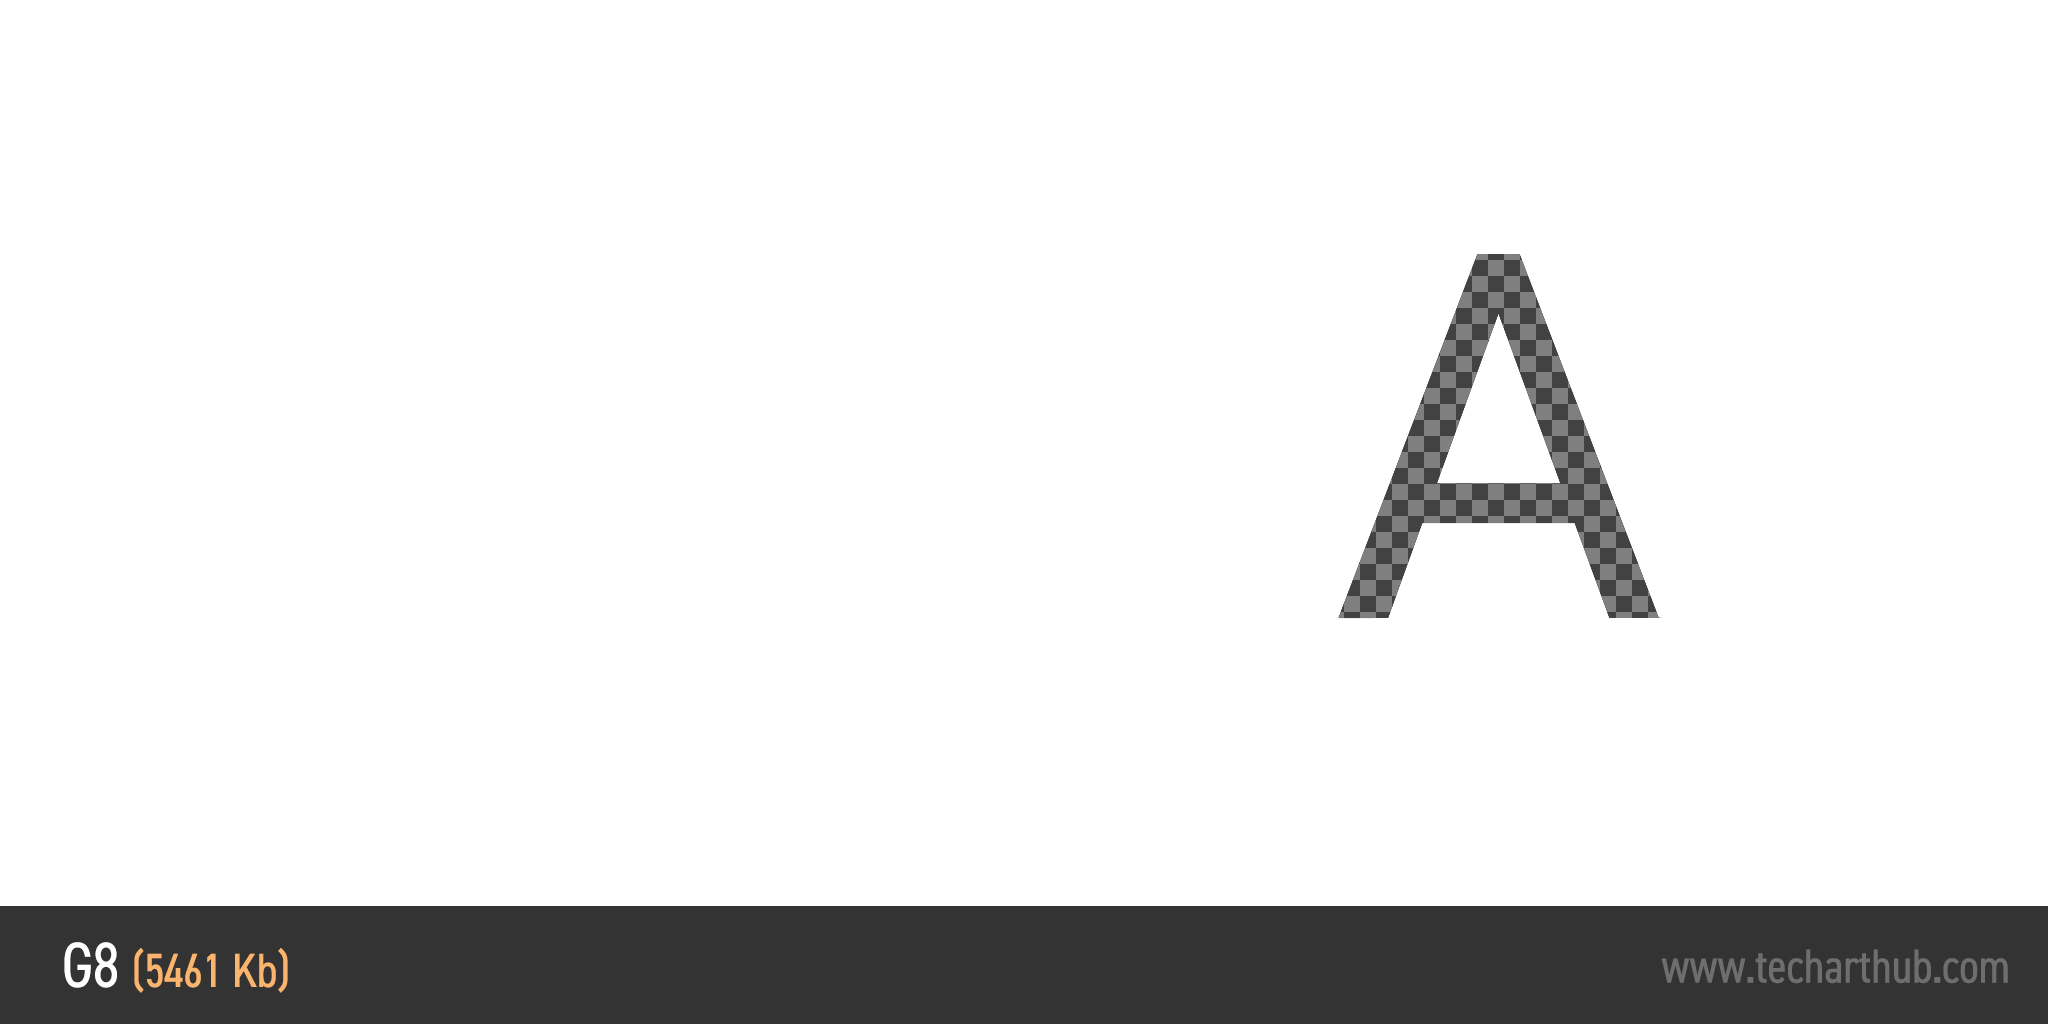
This profile uses an single-channel 8-bit format called G8. A little confusingly, in it’s profile name it’s instead labelled as R8 because it discards the green, blue, and alpha channels of your texture to provide an uncompressed 8-bit version of the red.

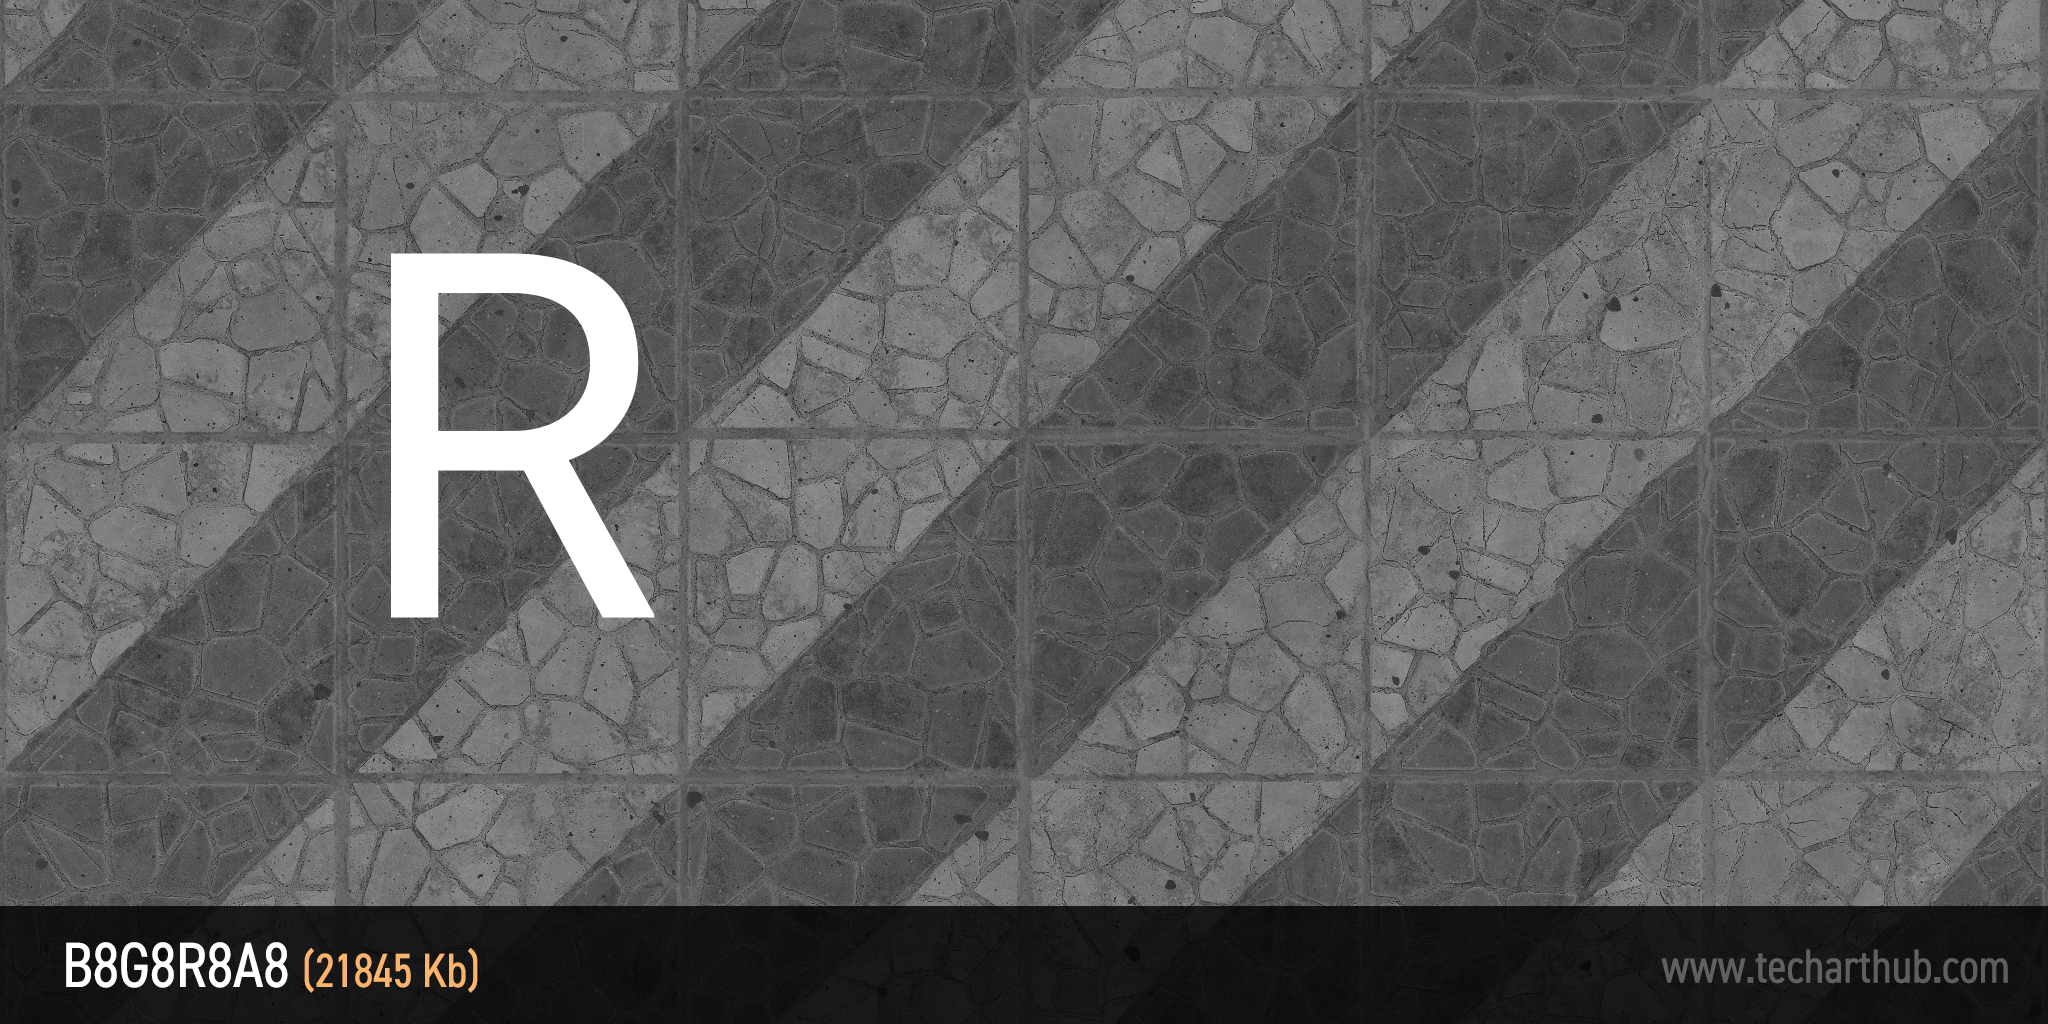
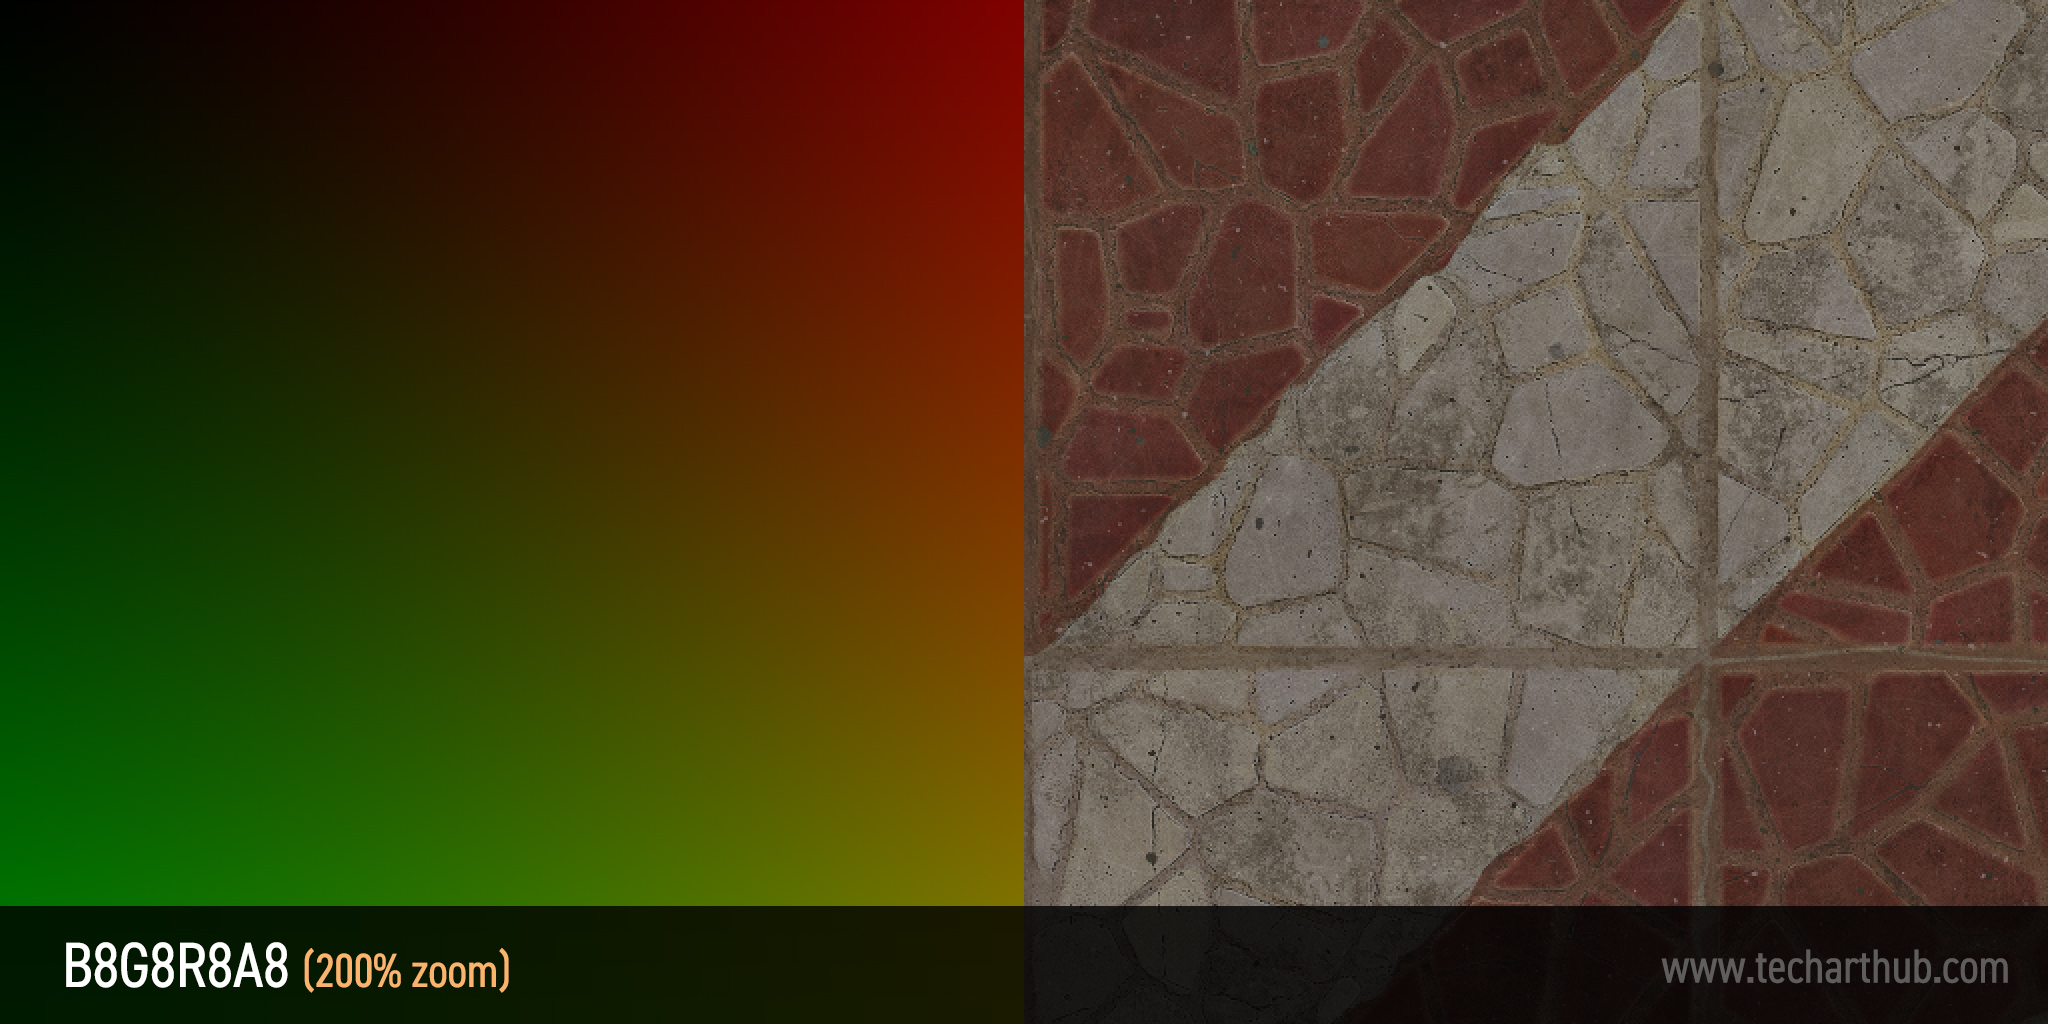
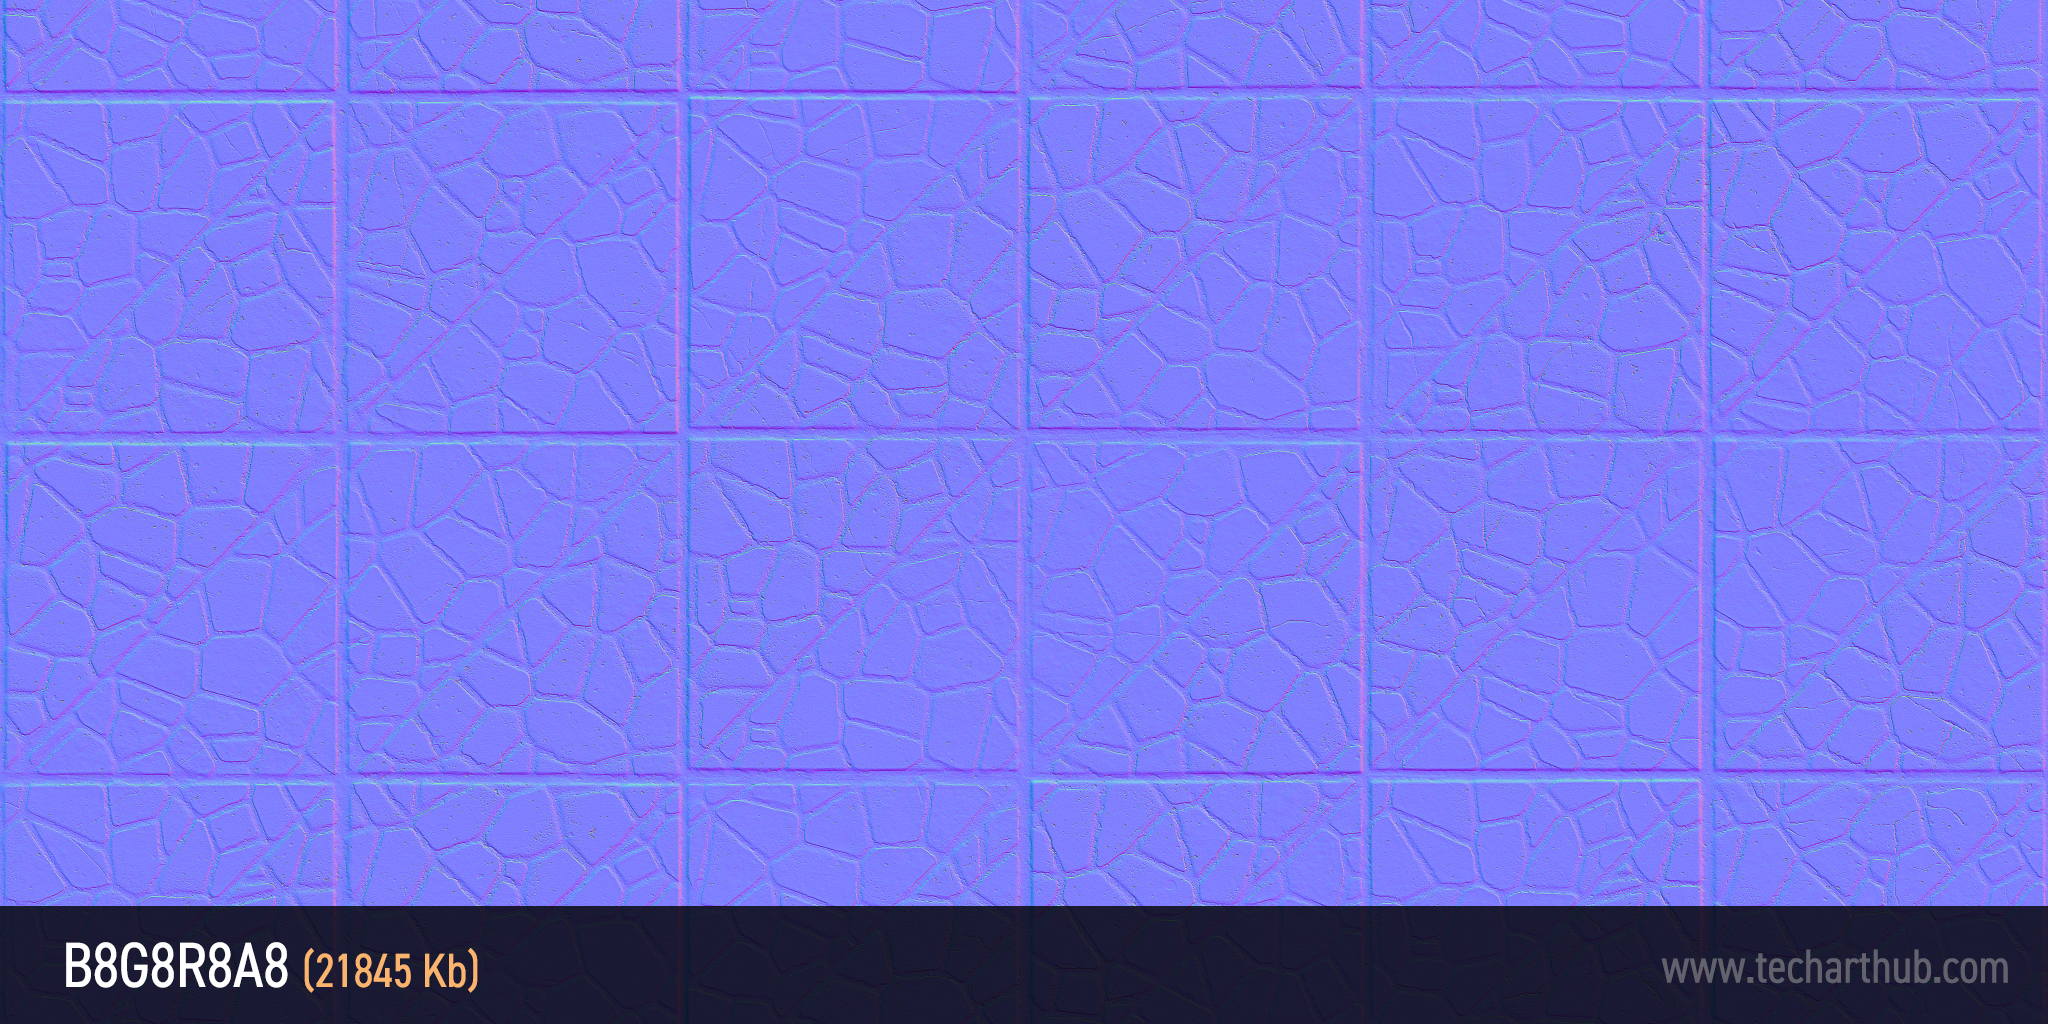
Grayscale supports sRGB as well, but if enabled the profile will switch to an uncompressed format called B8G8R8A8, turning your image into a 32-bit RGBA with four identical channels. As you might expect, this will dramatically increase your texture size. I can’t think of a reason why you would want to do this.
Displacementmap (8/16bit)
An uncompressed 8-bit grayscale intended to be used for displacement.
Like Grayscale, the Displacementmap profile also uses G8 compression (or B8G8R8A8 with sRGB enabled) to create an uncompressed single-channel texture map. However, this profile will instead use the information in the alpha channel and discard the rest.
As its name suggests, it’s designed for displacement/height maps.
Side note
I am not sure why this profile has 8/16bit in its name. It may be that it was/is intended to support single-channel 16-bit images as well. It seems to output an 8-bit image no matter what you feed into it, however, so this is purely speculation on my part. If you have any thoughts on this mystery, please get in touch!
VectorDisplacementmap (RGBA8)
An uncompressed 32-bit RGBA format designed for vertex animation and other 3D displacement purposes.
The VectorDisplacementmap profile (is anyone else getting a little uncomfortable with the inconsistent capitalization in these profile names?) provides a large, uncompressed image with four 8-bit channels using the B8G8R8A8 format.
Keep in mind that when using the B8G8R8A8 format, the alpha channel is mandatory (it will override the Compress Without Alpha setting) so if you’re using your texture to just store XYZ positional data, remember to take advantage of that fourth channel in whatever capacity you can.
HDR (RGB, no sRGB)
A 128-bit HDR image. Recommended for use with image-based lighting and skyboxes.
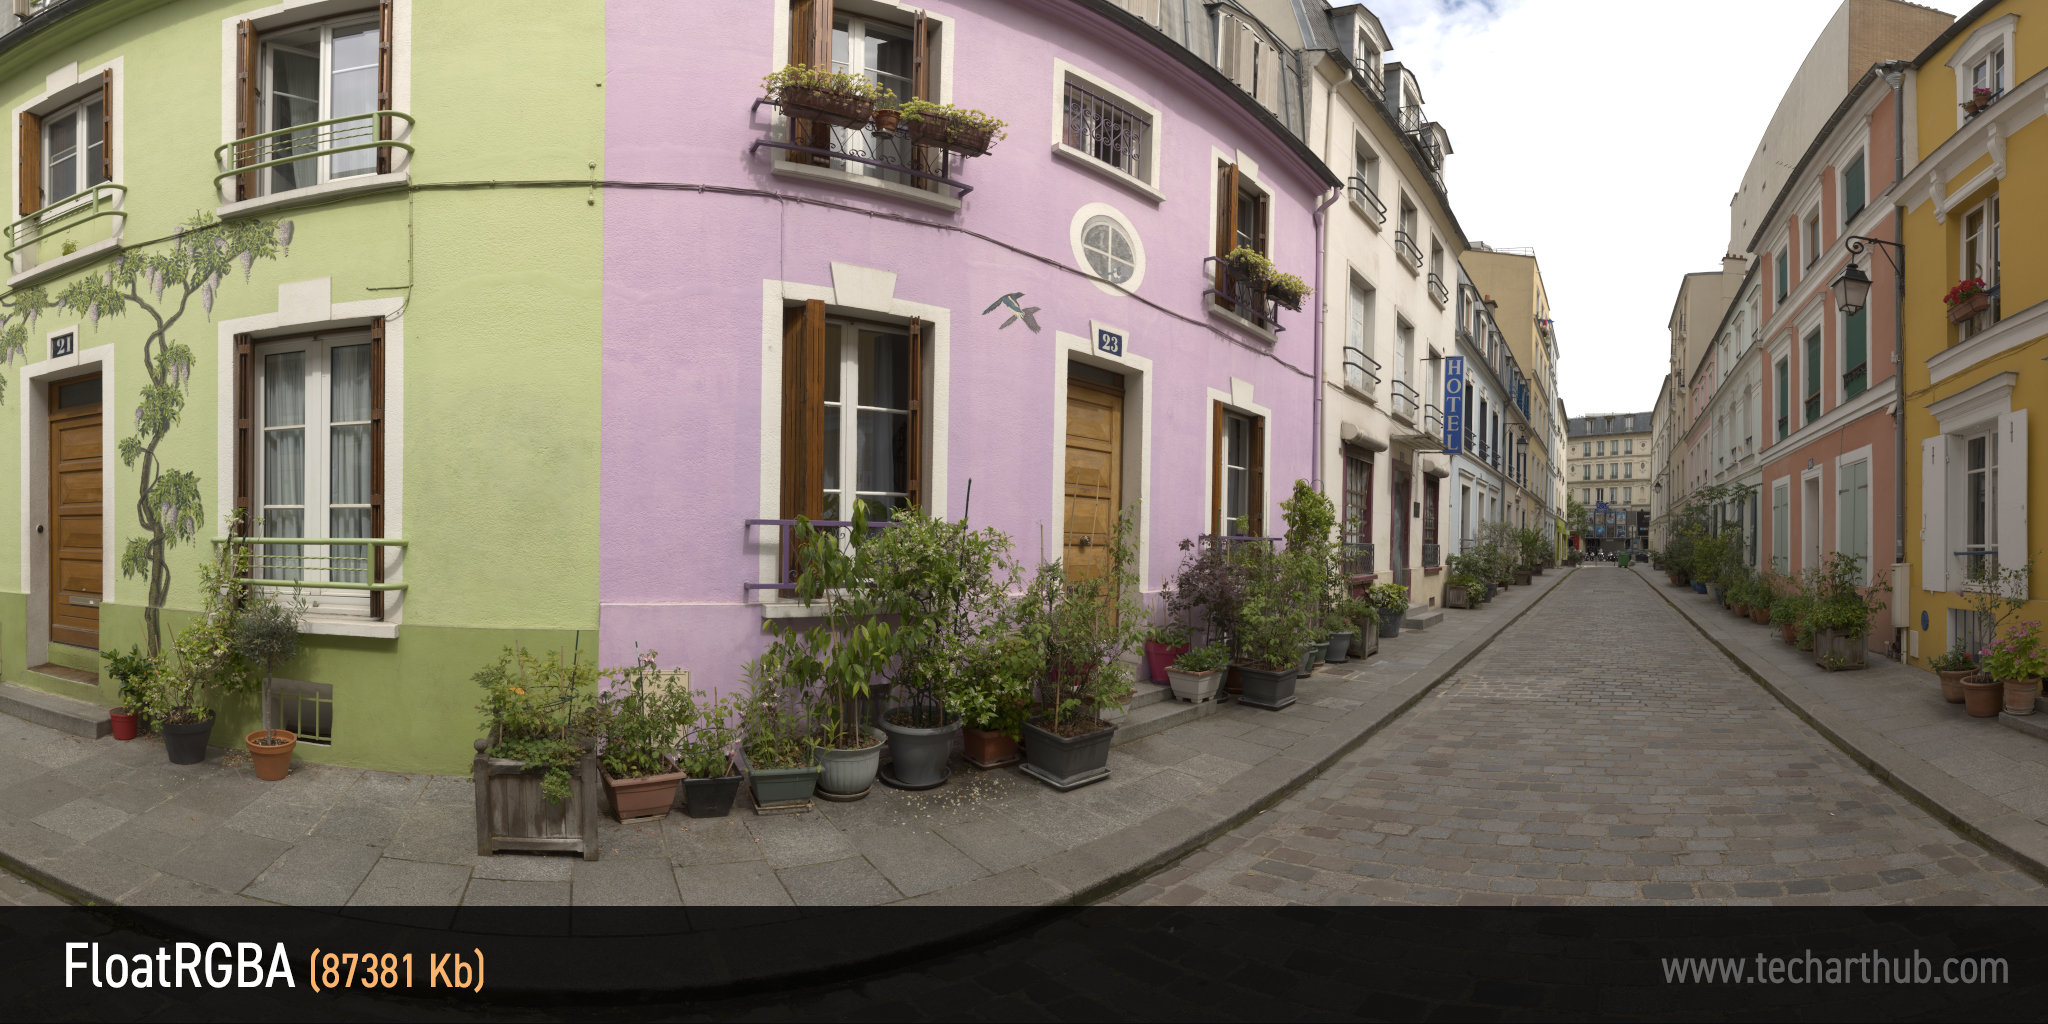
The HDR profile uses a compression format called FloatRGBA, which supports a far greater depth of color with 32 bits of color information per channel.
HDR color values are stored as floats (larger numbers that can have a decimal place) and not just integers/whole numbers as would be the case in a format like B8G8R8A8. This vastly increases the dynamic range of the image.
HDR doesn’t support sRGB, and despite what it says in its name it will add an alpha channel whether you want it to or not, so it’s best you make use of it.
Just a quick reminder
The images I’m using on this page to illustrate these settings are 24-bit jpgs with only 8-bits of information per channel, so you won’t be able to see the increased value range in these examples.
Userinterface2D (RGBA)
The same as HDR, but with sRGB support. This profile will present your image in the highest possible fidelity.
Intended for use with interface elements, this profile will use either B8G8R8A8 (up to 32-bit images) or FloatRGBA (up to 128-bit images) to provide the best possible result. As always, uncompressed textures take up a lot of space.
Userinterface2D supports sRGB.
Alpha (no sRGB, BC4 on DX11)
A general use 16-bit grayscale format for DirectX 11 and above.
This profile is intended for alpha masks, but it’s also a very useful multipurpose grayscale format. It will create a compressed 16-bit grayscale image from whatever is in your source texture’s red channel.
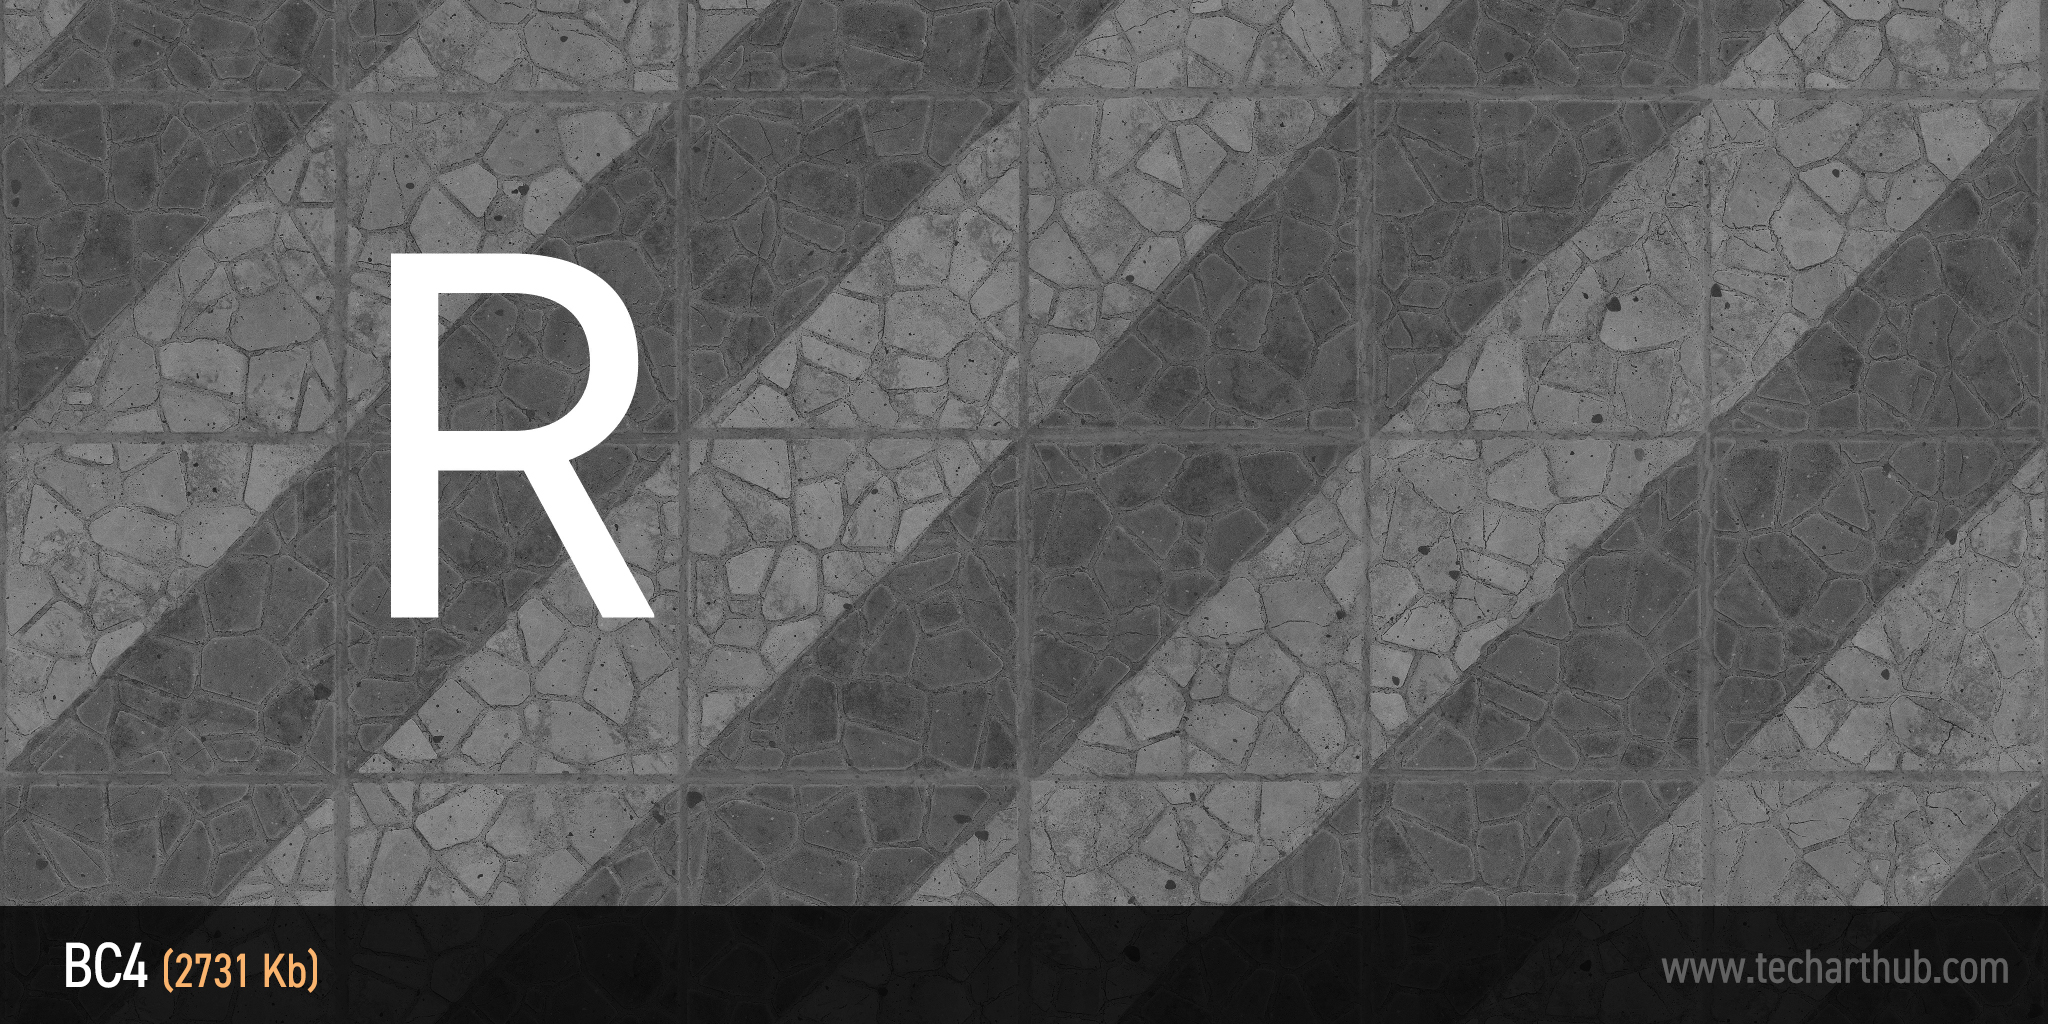
Alpha uses a S3 Texture Compression format called BC4. Like the other S3 compression formats, Alpha removes data by breaking the image into 4×4 pixel chunks, which can cause grid-shaped artefacts in certain situations.
sRGB is not supported.
DistanceFieldFont (R8)
Yet another uncompressed grayscale format, this time intended for distance field fonts.
The DistanceFieldFont profile is, for all intents and purposes, identical to Displacementmap. It is an 8-bit grayscale image using G8 compression which discards everything but the source texture’s alpha channel.
It might be doing something else under the hood, but so far I’ve not been able to find a single point of difference.
HDRCompressed (RGB, BC6H, DX11)
A compressed format for HDR images. Only supported on DirectX 11 and above.
This profile uses a newer compression format called BC6H, which supports three 16-bit channels in high dynamic range color. It achieves this by using ‘half’ floats (a full float having 32 bits of data). The HDRCompressed profile has half the amount of space to store data, and half the possible color range. This still represents billions of colors – far more than the human eye can see.
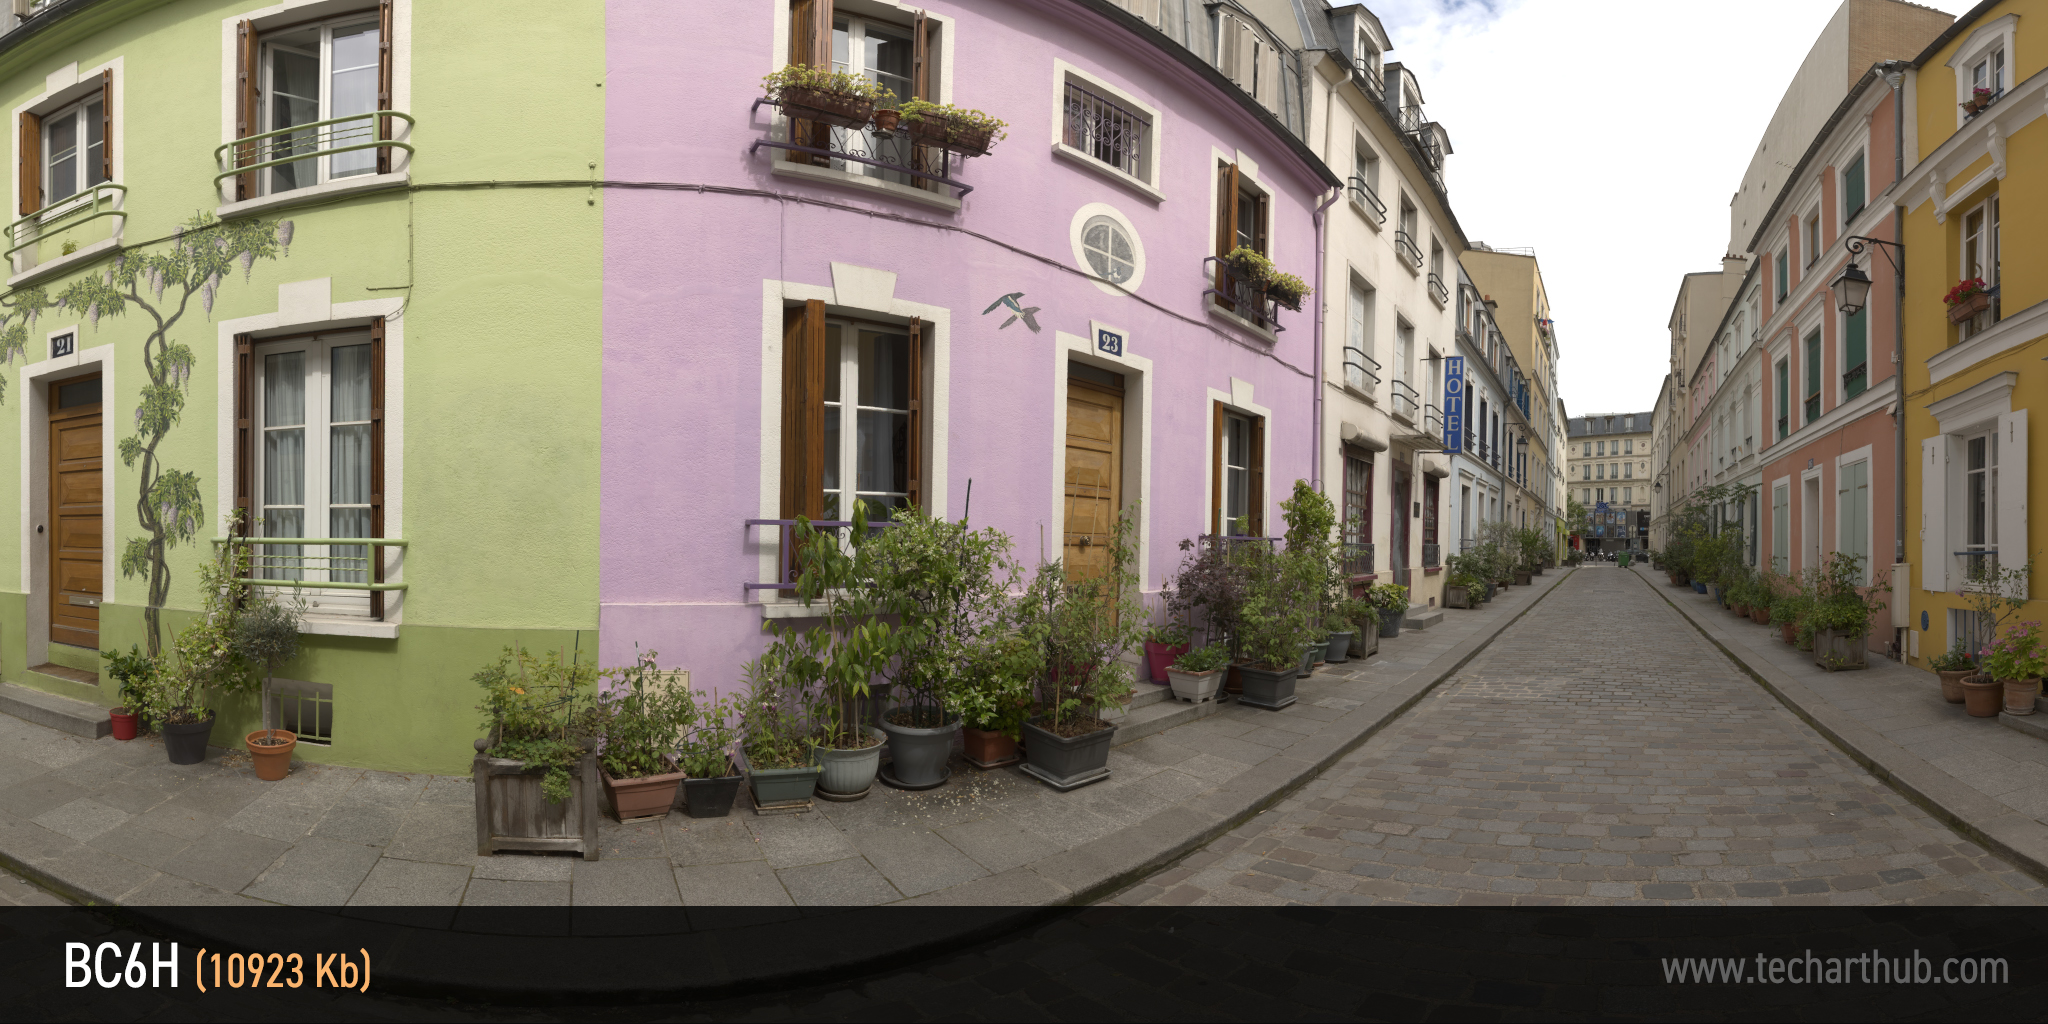
Like the uncompressed HDR profile, HDRCompressed does not support sRGB.
BC7 (DX11, optional A)
A newer, higher fidelity compression format for Direct X 11 and above.
BC7 was released with Direct X 11, and is a more advanced S3 compression format that uses a range of methods to encode 4 channels of texture data. It will provide higher quality compression with fewer artifacts than older formats like DXT1/5, and supports sRGB.
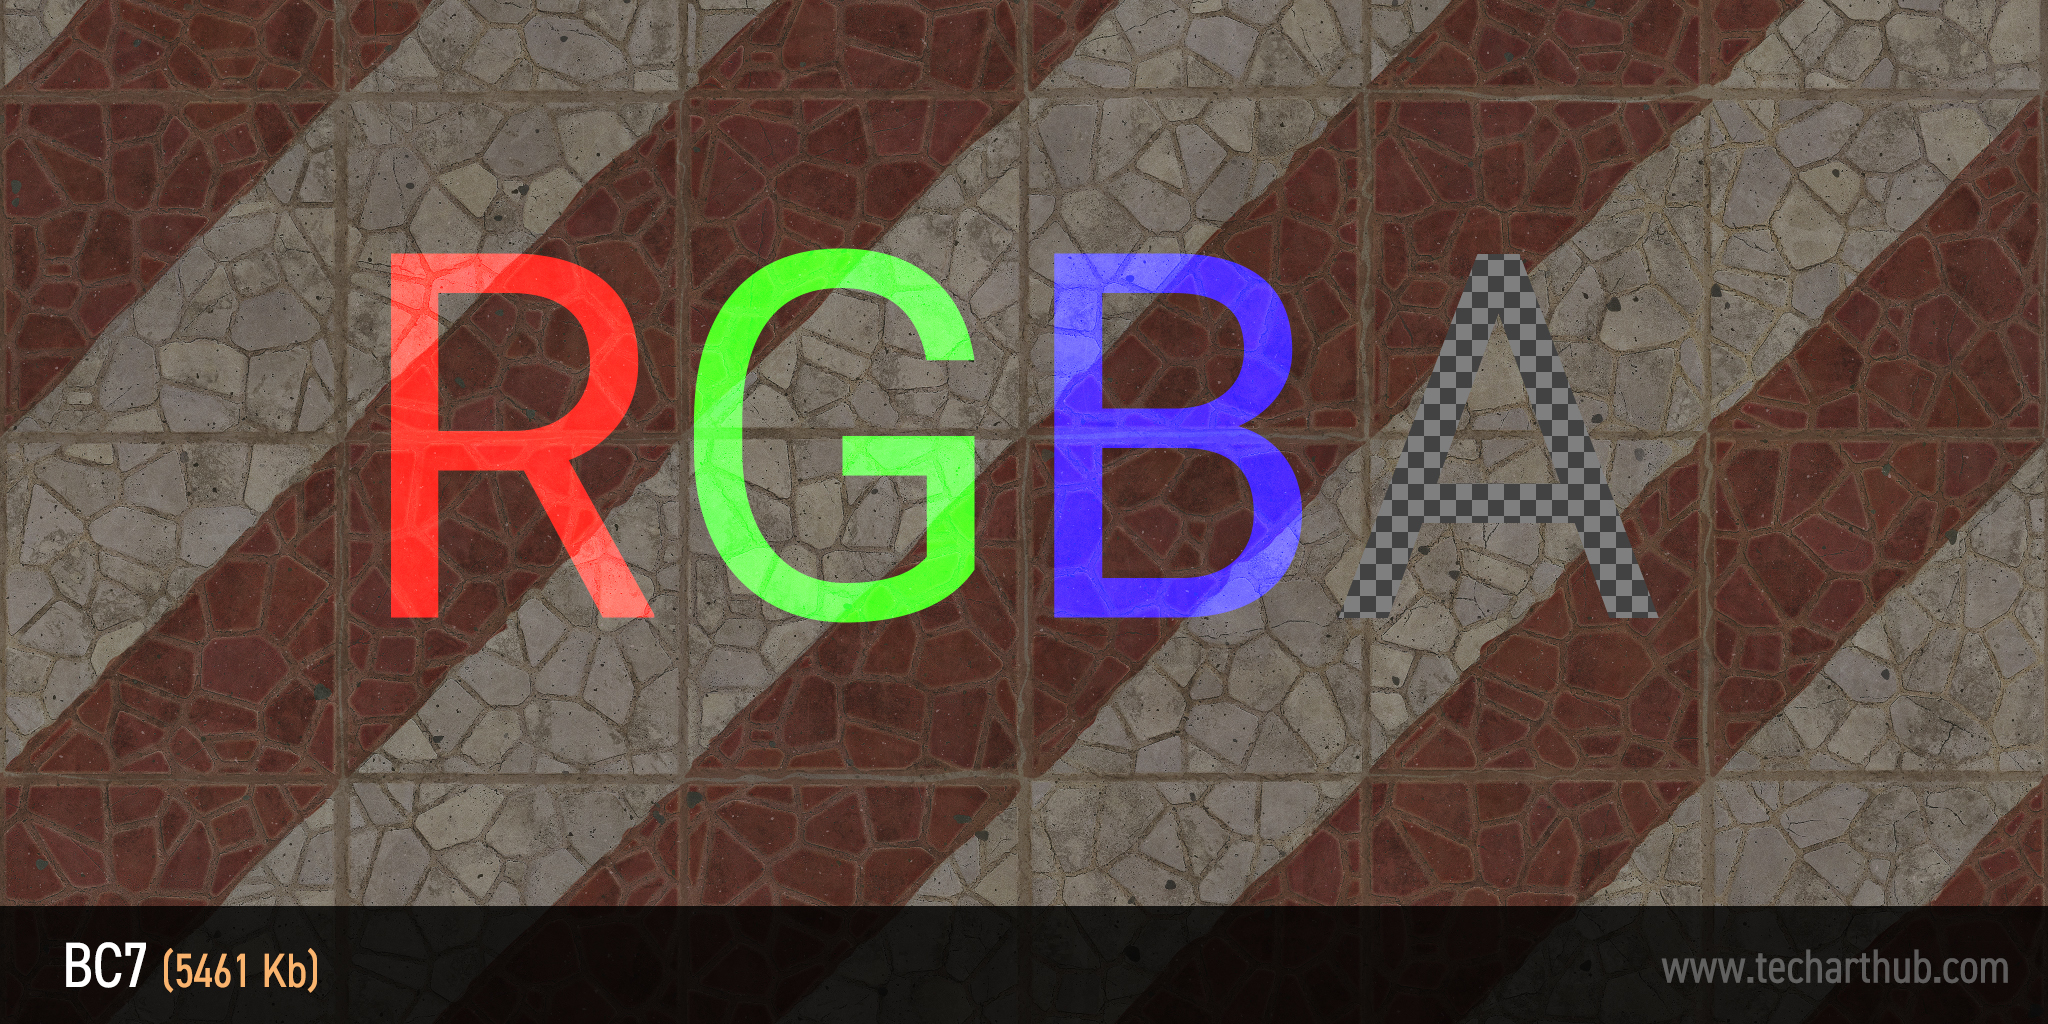
The BC7 format includes an alpha channel, which means that if one is missing from your source texture, the system will create one. The Compress Without Alpha setting will be overridden.
Half Float (R16F)
An uncompressed 16-bit grayscale image.
This single-channel format will encode whatever is in your red channel as a 16-bit half float value and discard the rest. As usual for 16-bit textures, this makes for a much higher range of color value when compared to formats like G8.
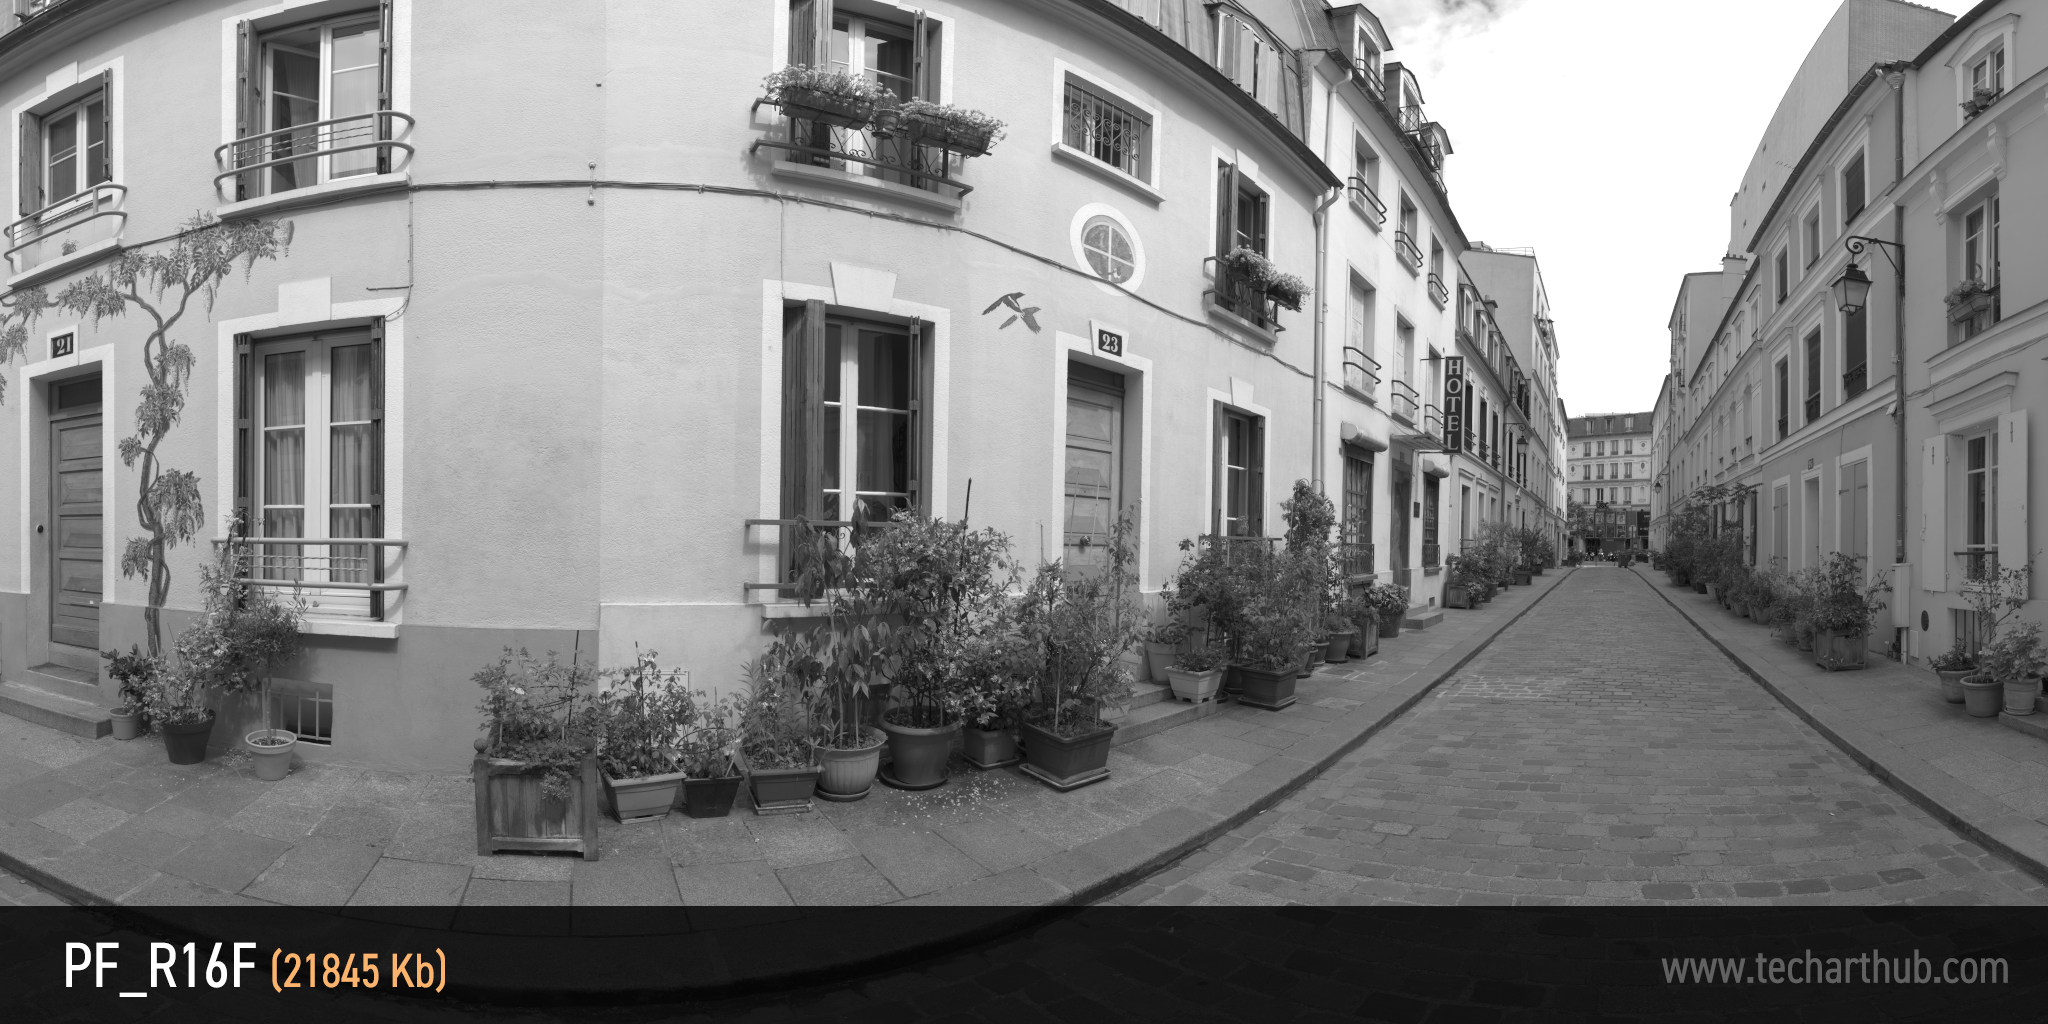
Half Float will force an alpha channel on you, overriding Compress Without Alpha.
Interestingly, this format is missing from the official documentation.
Default (DXT5)
An uncompressed 32-bit RGBA texture (despite what it says in the title).
Confusingly also named Default, this profile uses our standard B8G8R8A8 format for an uncompressed 4-channel image. I’m really not sure what the intention might be with this one.
This format is also missing from the official documentation.
Quick-reference guide
By necessity when we talk about texture compression we tend to throw around a lot of initialisms and it can get pretty overwhelming. I hope this quick-reference guide can act as a bit of a cheat sheet and help you compare the different formats to find which are best for your project.
Compressed formats
| Format | Channels | Bits per pixel | sRGB support | Compression ratio |
|---|---|---|---|---|
| DXT1|BC1 | RGB | 4 | Yes | 6:1 |
| DXT5|BC3 | RGBA | 8 | Yes | 4:1 |
| BC4 | R | 4 | No | 2:1 |
| BC5 | RG | 8 | No | 2:1 |
| BC6H | RGB | 8 | No | 4:1** |
| BC7 | RGB/A | 8* | Yes | 4:1** |
* BC7 has eight different modes with different color depths and bit distributions. It’s a little difficult to unpack. You can read more on Microsoft’s website.
** I have struggled to find information on the compression ratio of the BC6H and BC7 formats because their encoding algorithms are not so straightforward. The best answer I’ve been able to find so far has been that ‘it’s complicated’.
Uncompressed formats
| Format | Channels | Color depth | sRGB support |
|---|---|---|---|
| G8 | R | 8 | No |
| B8G8R8A8 | RGBA | 32 | Yes |
| R16F | R | 16 | No |
| FloatRGBA | RGBA | 128 | Yes |
Stay tuned!
This article is the result of a lot of research and experimentation, and I hope it will one day become a definitive resource for practical texture compression information. At this time however, it’s still a work in progress.
Thank you for reading, I hope you found it useful. If you are confused by the language I have used, or have spotted faults or factual errors, please don’t hesitate to reach out. I want to work with you all to make this the best resource it can be.
Topics to cover in future updates:
- Compression Quality
- Crunch compression (now its very own techarthub article!)
- Texture compression for mobile devices
- Recommended use-cases


